Extrapolate
The extrapolate key of an interpolate call defines how the interpolation should operate. Additionally you can define extrapolateLeft and extrapolateRight if you need either side of the interpolation to operate differently.
When I say either side I mean depending on the direction the animated value is going will pick the correct extrapolate left/right.
Lets look at an example
this.state.animation.interpolate({
  inputRange: [0, 1],
  outputRange: [0, 100],
  extrapolateLeft: "clamp",
  extrapolateRight: "clamp",
});
Lets assume our this.state.animation is starting at 0. If we trigger an animation to 2. The extrapolateRight will apply once we exceed 1. If we then animate back to 0, once the animated value hits 0 and or goes beyond 0 then our extrapolateLeft will be applied.
Generally you'll define the same extrapolate on either side and can just use the extrapolate key to define that.
this.state.animation.interpolate({
  inputRange: [0, 1],
  outputRange: [0, 100],
  extrapolate: "clamp",
});
There are 3 values that are accepted for extrapolation. The default is extend.
Extend
Extend tells extrapolate to figure out the rate of change happening once the inputRange is exceeded and continue to interpolate. Because it's the default you don't have to add it in as an extrapolate.
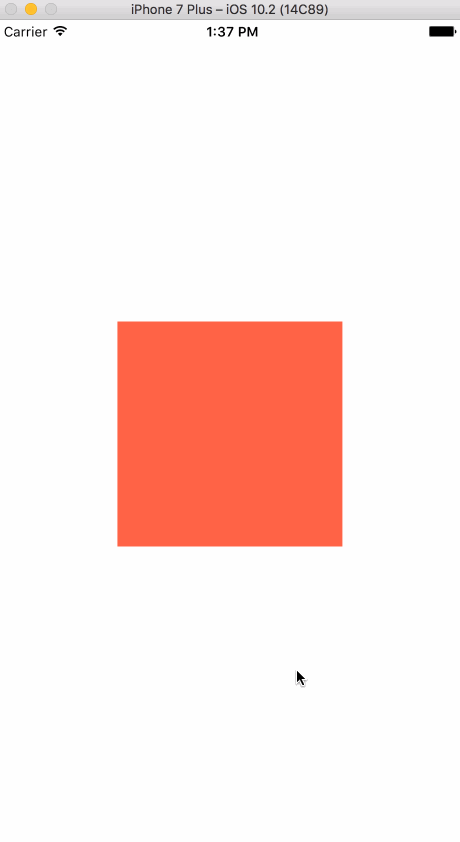
If we were to trigger an animation to 2 the interpolation will continue extending past 100. Our value will continue on to be 200.
this.state.animation.interpolate({
  inputRange: [0, 1],
  outputRange: [0, 100],
});
Lets prove this with some code.
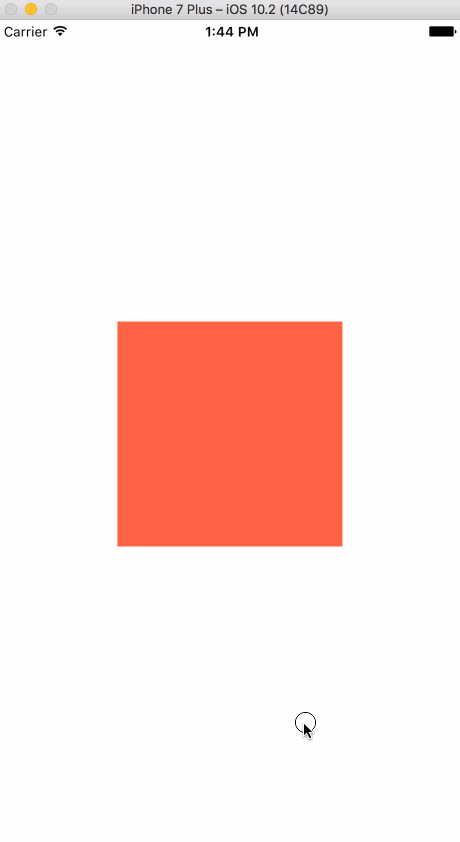
export default class animations extends Component {
  state = {
    animation: new Animated.Value(0),
  };
  componentDidMount() {
    Animated.timing(this.state.animation, {
      toValue: 2,
    }).start();
  }

  render() {
    const animatedStyles = {
      height: this.state.animation.interpolate({
        inputRange: [0, 1],
        outputRange: [0, 100],
      }),
    };

    return (
      <View style={styles.container}>
        <Animated.View style={[styles.box, animatedStyles]} />
      </View>
    );
  }
}

const styles = StyleSheet.create({
  container: {
    flex: 1,
    alignItems: "center",
    justifyContent: "center",
  },
  box: {
    width: 100,
    backgroundColor: "tomato",
  },
});
Our height will start at 0, grow to 100 via the interpolate, and then because the default is extend it will continue to grow at the same pace that it was previously at. So it will grow to 200 in size.
 ;
;
Clamp
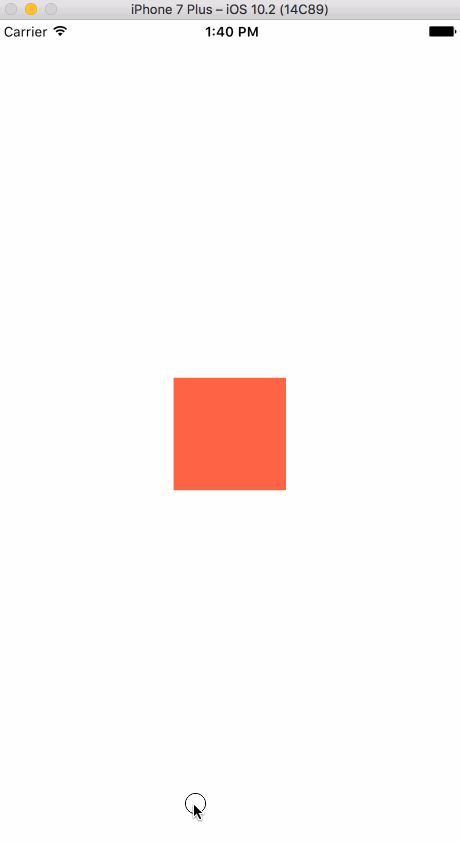
Taking advantage of extrapolate is going to happen more with transforms than it is with height. Often you might be scaling an animation but only from 0 to 1 . However with the extend extrapolate it could easily scale to twice the size and we do not want that.
Here is what it would look like before we apply our clamp, with the box growing to 2 times it's size because it still has the default extrapolate: "extend".
Now we apply our clamp
export default class animations extends Component {
  state = {
    animation: new Animated.Value(0),
  };
  componentDidMount() {
    Animated.timing(this.state.animation, {
      toValue: 2,
    }).start();
  }

  render() {
    const animatedStyles = {
      transform: [
        {
          scale: this.state.animation.interpolate({
            inputRange: [0, 1],
            outputRange: [0, 1],
            extrapolate: "clamp",
          }),
        },
      ],
    };

    return (
      <View style={styles.container}>
        <Animated.View style={[styles.box, animatedStyles]} />
      </View>
    );
  }
}

const styles = StyleSheet.create({
  container: {
    flex: 1,
    alignItems: "center",
    justifyContent: "center",
  },
  box: {
    height: 100,
    width: 100,
    backgroundColor: "tomato",
  },
});
And now we get the scale rising to 1 half way through the animation and stopping.
Identity
Once our animated value passes our inputRange the identity extrapolate will tell the interpolation to completely ignore the inputRange and just use the value of the animated value.
We can see in our code below, we are animating to 2 but our outputRange is only scaling the box to .2. Once our animated value gets to beyond 1 our inputRange no longer applies, and our scale will apply the value of our this.state.animation.
You'll see a jump in the animation from .2 to 1 and then continue to grow to 2.
export default class animations extends Component {
  state = {
    animation: new Animated.Value(0),
  };
  componentDidMount() {
    Animated.timing(this.state.animation, {
      toValue: 2,
    }).start();
  }

  render() {
    const animatedStyles = {
      transform: [
        {
          scale: this.state.animation.interpolate({
            inputRange: [0, 1],
            outputRange: [0, 0.2],
            extrapolate: "identity",
          }),
        },
      ],
    };

    return (
      <View style={styles.container}>
        <Animated.View style={[styles.box, animatedStyles]} />
      </View>
    );
  }
}

const styles = StyleSheet.create({
  container: {
    flex: 1,
    alignItems: "center",
    justifyContent: "center",
  },
  box: {
    height: 100,
    width: 100,
    backgroundColor: "tomato",
  },
});
Mixing Extrapolates
Lets see what animated effects mixing extrapolates can cause. We start by setting up a gesture example.
However you can see that we aren't actually attaching the gestures to the box. We are attaching them to the container element
<View style={styles.container} {...this._panResponder.panHandlers}>
This is going to allow us to touch and drag anywhere and it'll effect the box properties.
Also for the sake of visualization I've added
this.state.animation.y.addListener(({ value }) => {
  this.setState({
    value,
  });
});
DO NOT DO THIS IN PRACTICE. Calling setState every time the event listener is called is going to cause way too many updates in real practice. This is purely for visualizing the current value of our animation drag.
import React, { Component } from "react";
import {
  AppRegistry,
  StyleSheet,
  Text,
  View,
  Animated,
  PanResponder,
  Dimensions,
} from "react-native";

export default class animations extends Component {
  state = {
    animation: new Animated.ValueXY(0),
    value: 0,
  };

  componentWillMount() {
    this.state.animation.y.addListener(({ value }) => {
      this.setState({
        value,
      });
    });

    this._panResponder = PanResponder.create({
      onStartShouldSetPanResponder: () => true,
      onMoveShouldSetPanResponder: () => true,
      onPanResponderGrant: (e, gestureState) => {
        this.state.animation.extractOffset();
      },
      onPanResponderMove: Animated.event([
        null,
        { dx: this.state.animation.x, dy: this.state.animation.y },
      ]),
    });
  }

  render() {
    const { height } = Dimensions.get("window");
    return (
      <View style={styles.container} {...this._panResponder.panHandlers}>
        <Animated.View style={[styles.box, animatedStyle]}>
          <Text>
            {Math.round(this.state.value)}/{Math.round(height / 3)}
          </Text>
        </Animated.View>
      </View>
    );
  }
}

const styles = StyleSheet.create({
  container: {
    flex: 1,
    alignItems: "center",
    justifyContent: "center",
  },
  box: {
    width: 75,
    height: 75,
    backgroundColor: "tomato",
  },
});
Now we'll setup our interpolation purely on the y of our drag. And cap the right side with a clamp. Meaning when we have dragged to the height/3 it will stop and not scale anymore than 1.
However as we touch and drag up and cause our y value to head towards 0 and then negative. Our value will continue to extend and grow. Because we are passing it into scale we will actually flip the box around.
var scaleAndFlipOnReverse = this.state.animation.y.interpolate({
  inputRange: [0, height / 3],
  outputRange: [0.1, 1],
  extrapolateLeft: "extend",
  extrapolateRight: "clamp",
});

const animatedStyle = {
  transform: [{ scale: scaleAndFlipOnReverse }],
};