Create an Instagram Press-and-Hold Image Preview Modal with Gesture Actions in React Native

Introduction
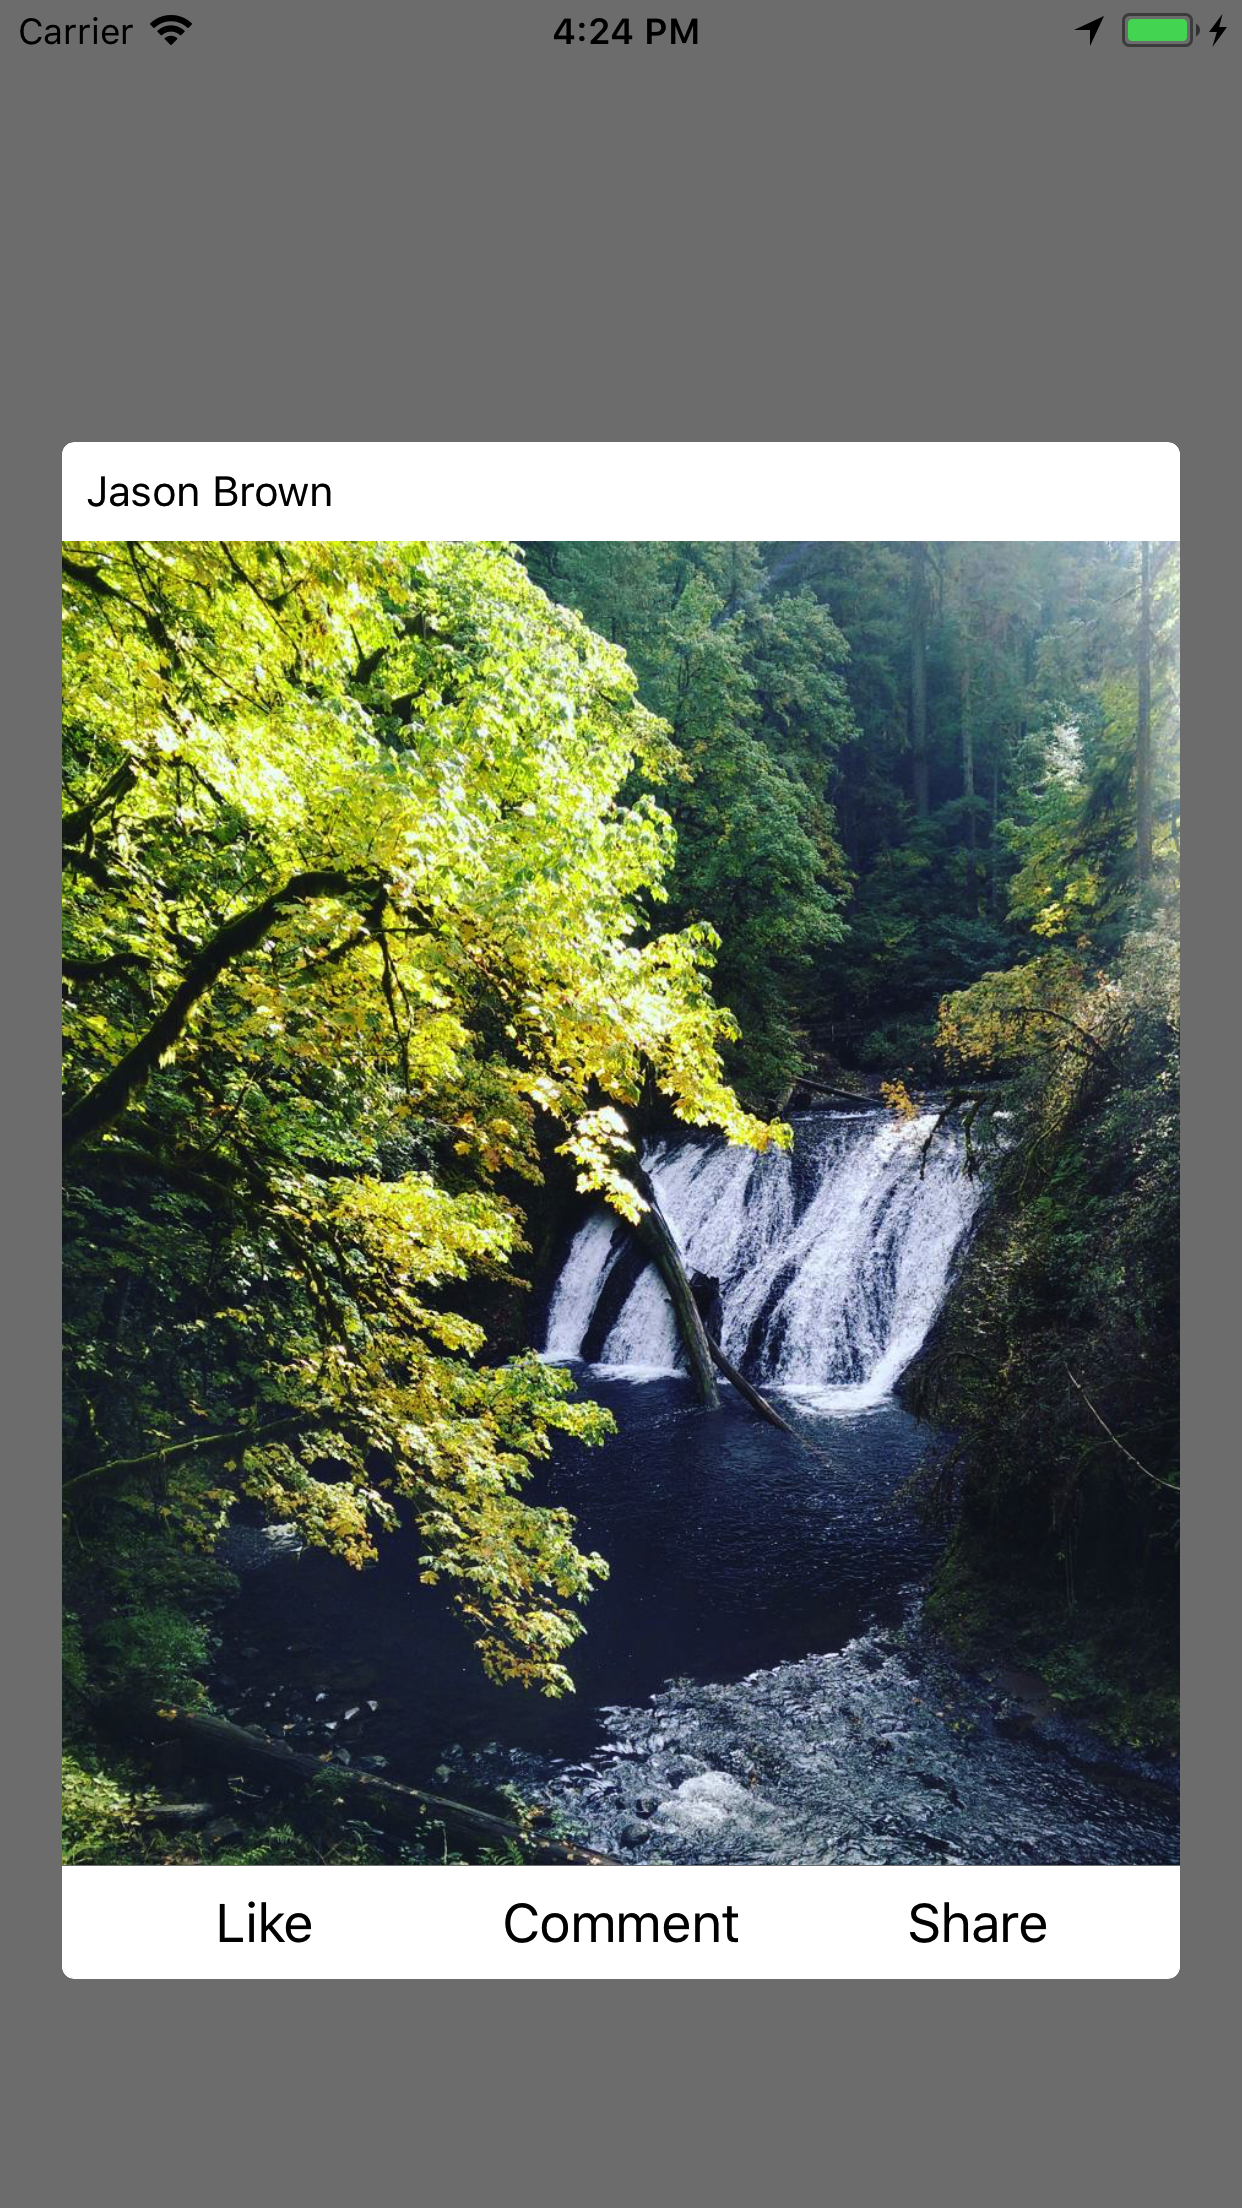
Instagram has a cool feature when you are looking at the grid view. When you press and hold on any of the images it will show you a quick view. While still holding you can move your finger to multiple actions. These actions include like, share, and comment.
It's a fun and useful interaction, so lets get to rebuilding it with React Native.
Starting with an Image
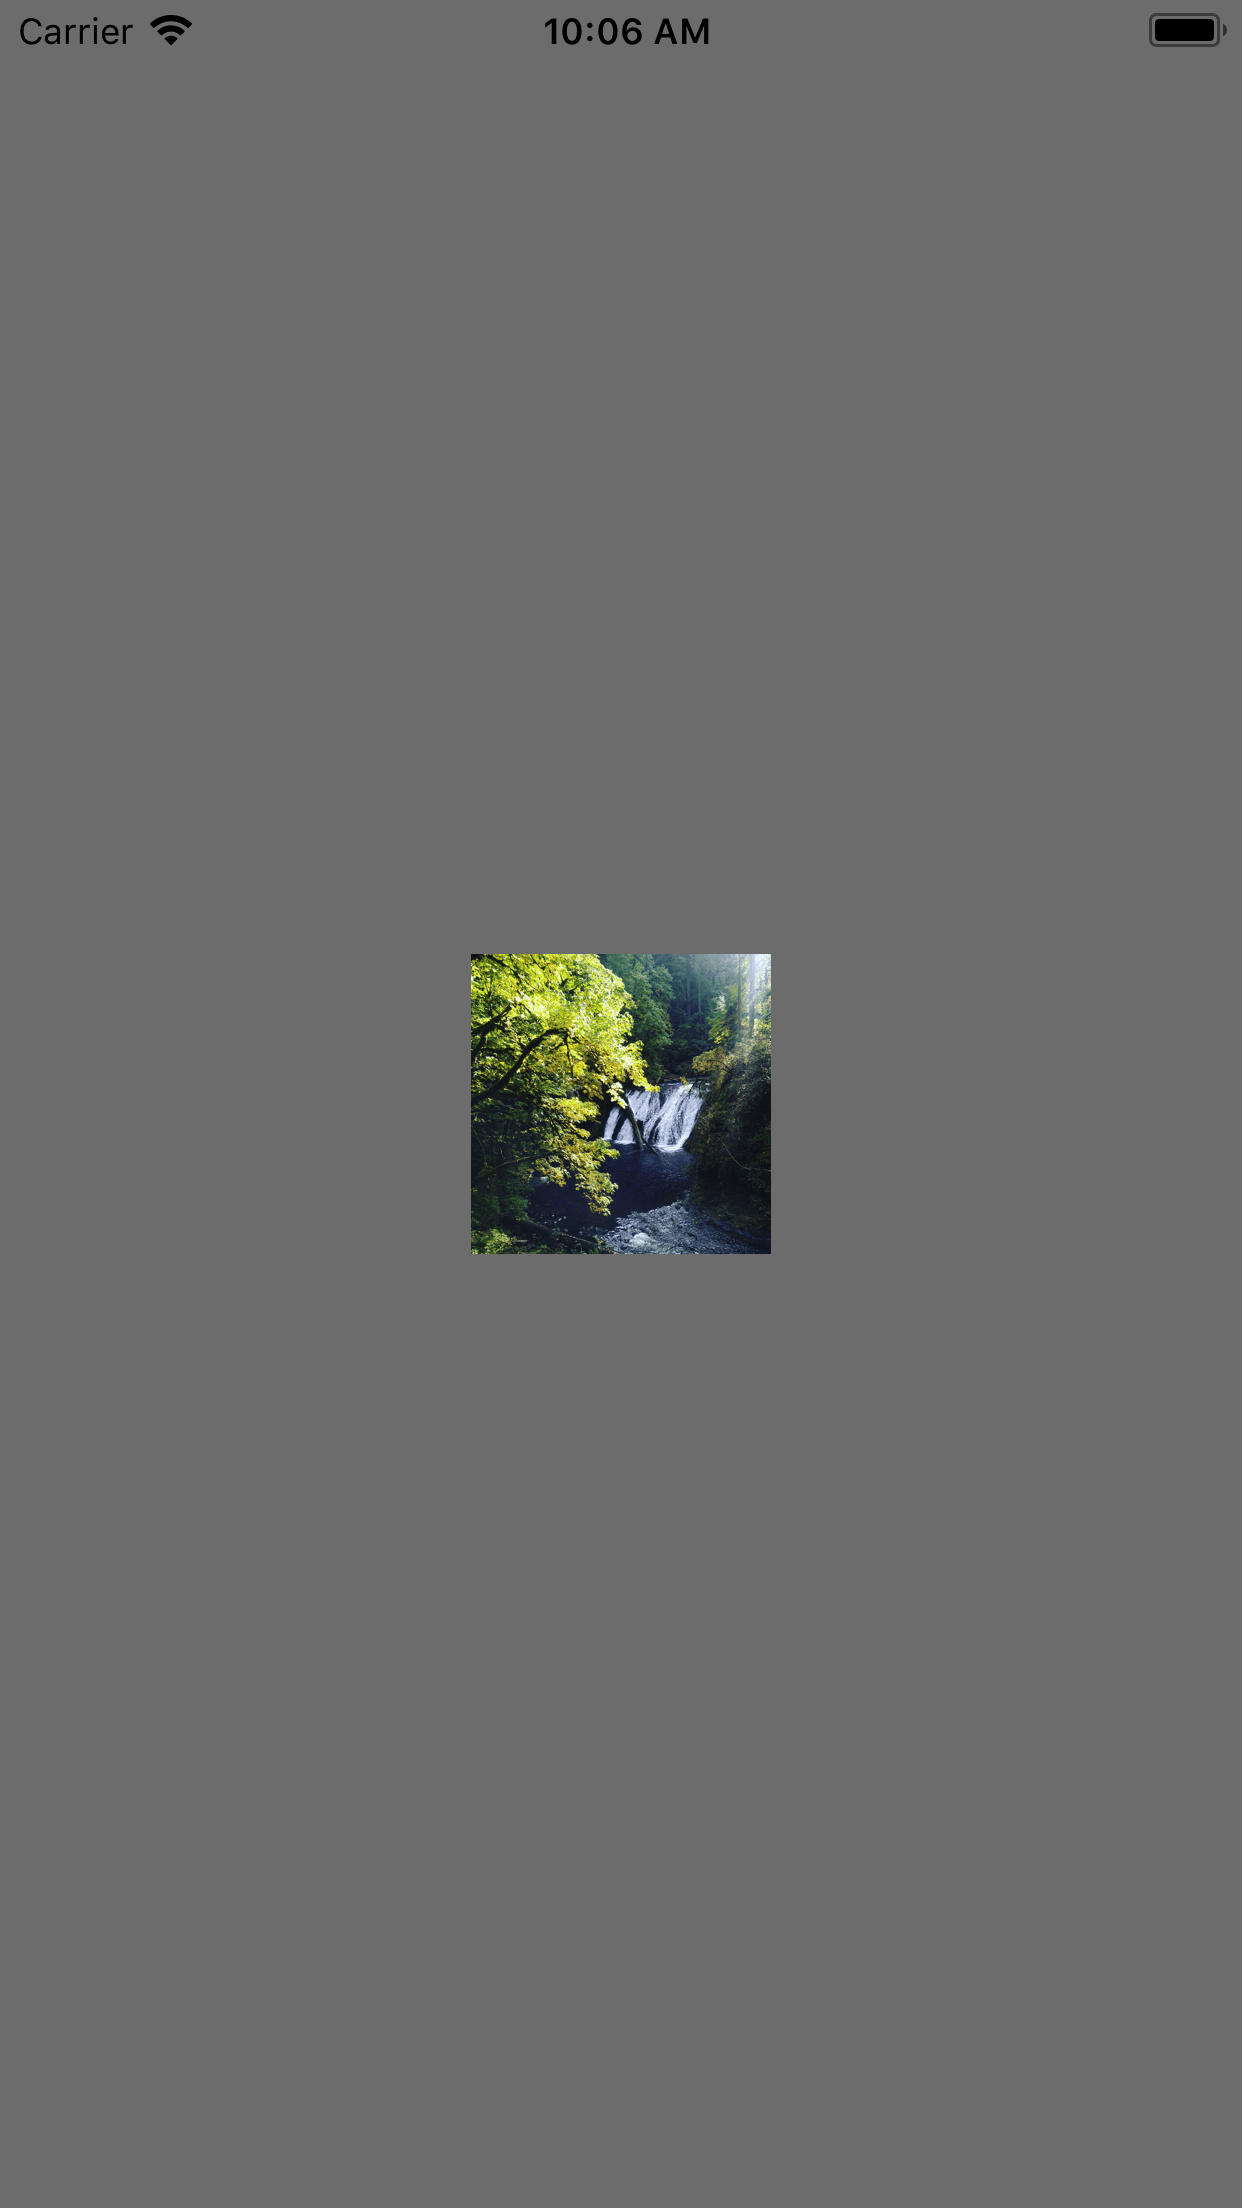
We'll start with this already setup. I took an image from my actual instagram account to test it out.
import React from "react";
import {
  StyleSheet,
  Text,
  View,
  Image,
  Animated,
  PanResponder,
  Platform,
} from "react-native";

import picture from "./assets/picture.jpg";

export default class App extends React.Component {
  render() {
    return (
      <View style={styles.container}>
        <View style={styles.main}>
          <Image
            source={picture}
            resizeMode="contain"
            style={styles.thumbnail}
          />
        </View>
      </View>
    );
  }
}

const styles = StyleSheet.create({
  container: {
    flex: 1,
    backgroundColor: "rgba(0,0,0,.5)",
  },
  main: {
    flex: 1,
    alignItems: "center",
    justifyContent: "center",
  },
  thumbnail: {
    width: 100,
    height: 100,
  },
});
The reason for styling the background a light black/great is to just have some contrast when the modal opens with white background. We could add some shadows and such but I'll keep it simpler for now.

Render the Modal
The next step is to render our modal. We are rendering using the StyleSheet.absoluteFill to cover the entire screen, and then we can use another specific style modal to center the content. It is imperative to add pointerEvents="none" otherwise this modal will respond to touches and will steal all touches from everything else.
<Animated.View
  style={[StyleSheet.absoluteFill, styles.modal]}
  pointerEvents="none"
>
  <View style={styles.modalContainer}>
    <View style={styles.header}>
      <Text>Jason Brown</Text>
    </View>
    <Image source={picture} style={styles.image} resizeMode="cover" />
    <View style={styles.footer}>
      <View style={styles.footerContent}>
        <Text style={styles.text}>Like</Text>
        <Text style={styles.text}>Comment</Text>
        <Text style={styles.text}>Share</Text>
      </View>
    </View>
  </View>
</Animated.View>
The modal container will then use % width and % height so that the dimensions will be properly set when being centered by our modal style. We use a width of 90% to setup a slight bit of padding on both sides. Then a height of 60%.
Our Image resizeMode needs to be set to cover since our dimensions could be anything here and need it to cover the full container. This is less than ideal, but to fix it we'd need to calculate what the actual dimensions/aspect ratio would be in JS land, and then position our footer/header specifically.
Finally our header and footer are pretty much exactly the same, we just need to round different corners. So the header has top left and top right corners rounded, where the footer has bottom left and bottom right rounded.
We setup our footerContent which contains our text items to gesture over, and set it to a row and space-around.
const styles = StyleSheet.create({
  container: {
    flex: 1,
    backgroundColor: "rgba(0,0,0,.5)",
  },
  main: {
    flex: 1,
    alignItems: "center",
    justifyContent: "center",
  },
  thumbnail: {
    width: 100,
    height: 100,
  },
  modal: {
    alignItems: "center",
    justifyContent: "center",
  },
  modalContainer: {
    width: "90%",
    height: "60%",
  },
  header: {
    backgroundColor: "#FFF",
    borderTopLeftRadius: 4,
    borderTopRightRadius: 4,
    overflow: "hidden",
    padding: 8,
  },
  footer: {
    backgroundColor: "#FFF",
    borderBottomLeftRadius: 4,
    borderBottomRightRadius: 4,
    overflow: "hidden",
    padding: 8,
  },
  footerContent: {
    justifyContent: "space-around",
    flexDirection: "row",
  },
  image: {
    width: "100%",
    height: "100%",
  },
  text: {
    flex: 1,
    fontSize: 18,
    textAlign: "center",
  },
  bold: {
    fontWeight: "bold",
  },
});

Determine Button Locations
Now that we have our modal rendering we need to measure and determine our button locations. We need to get the pageX/pageY locations so we can't actually use onLayout since it will only return a location relative to the parent.
So that means we need to use createRef from React v16.3 and create 3 refs for each of our actions we want to trigger on our modal.
We also initialize this.layout = {} to store our values.
export default class App extends React.Component {
  constructor(props) {
    super(props);

    this.layout = {};

    this.likeRef = React.createRef();
    this.shareRef = React.createRef();
    this.commentRef = React.createRef();
  }
}
Next we setup a function to handle our measurements. We'll create a function that when called will return another function. It will save off our key to save to the this.layout and later name to trigger an action.
We'll pass in our ref that we created and then call measure on it. This will take a callback function that receives a bunch of various data. We'll save it off, but the main pieces we care about is the width, height, pageX and pageY.
Since we are using createRef the way to access the component ref is to use .current.
handleMeasure = (key, ref) => () => {
  ref.current.measure((x, y, width, height, pageX, pageY) => {
    this.layout[key] = { x, y, width, height, pageX, pageY };
  });
};
We now pass this into onLayout. If we made these calls in componentDidMount the text may not have been completely measured yet and will return all zeroes. So we pass in our handleMeasure to the onLayout function because when these are called we know that our text has a size that we can get access to.
<View style={styles.footer}>
  <View style={styles.footerContent}>
    <Text
      style={styles.text}
      ref={this.likeRef}
      onLayout={this.handleMeasure("like", this.likeRef)}
    >
      Like
    </Text>
    <Text
      style={styles.text}
      ref={this.commentRef}
      onLayout={this.handleMeasure("comment", this.commentRef)}
    >
      Comment
    </Text>
    <Text
      style={styles.text}
      ref={this.shareRef}
      onLayout={this.handleMeasure("share", this.shareRef)}
    >
      Share
    </Text>
  </View>
</View>
Hide the Modal
Now we have our modal rendering, and measuring our text but we only want to see it when the user presses on our image. So we need to hide it.
We'll toss in a Animated.Value on state called visible, we'll set the default to 0 so that when we pass it into opacity it'll start hidden.
this.state = {
  selected: undefined,
  visible: new Animated.Value(0),
};
Now we setup a style to hide our Animated.View that is our modal.
const modalStyle = {
  opacity: this.state.visible,
};
Pass in our modalStyle and now we have a hidden modal. It is technically still there and rendered so our text measurements will all be measured correctly, but with our pointerEvents set to none the users touches will pass through to the other views below.
<Animated.View
  style={[StyleSheet.absoluteFill, styles.modal, modalStyle]}
  pointerEvents="none"
>
Create our PanResponder and Show Our Modal
We'll need access to our PanResponder on first render so we'll create it in our constructor.
constructor(props) {
    super(props);

    this.state = {
      selected: undefined,
      visible: new Animated.Value(0),
    };

    this.layout = {};

    this.likeRef = React.createRef();
    this.shareRef = React.createRef();
    this.commentRef = React.createRef();

    this._panResponder = PanResponder.create({
      onStartShouldSetPanResponder: (evt, gestureState) => true,
      onMoveShouldSetPanResponder: (evt, gestureState) => true,
      onPanResponderGrant: (e, gestureState) => {
        Animated.spring(this.state.visible, {
          toValue: 1,
          friction: 5,
        }).start();
      },
      onPanResponderMove: (e, gestureState) => {

      },
      onPanResponderRelease: (e, gestureState) => {

      },
    });
  }
Now we need to show our modal, and we do that in the onPanResponderGrant function. It will get called once and only once when the user presses and our onStartShouldSetPanResponder returns true. When pressed we'll call our Animated.spring on our animated valued this.state.visible that we passed into our opacity on our modal.
onPanResponderGrant: (e, gestureState) => {
  Animated.spring(this.state.visible, {
    toValue: 1,
    friction: 5,
  }).start();
},
Now lets apply our panHandlers to the image, when we press on the image our PanResponder will get triggered.
<View style={styles.main}>
  <Image
    source={picture}
    resizeMode="contain"
    style={styles.thumbnail}
    {...this._panResponder.panHandlers}
  />
</View>
Do the Detection
When we do our detection we'll need to loop through and check for the layout pieces.
This is where our layout will come into play. We use Object.entries to turn our layout object into an array where the key and value are in an array.
That gives us the ability to then use .find to search our layout items and check if the users finger has entered into the square of any of the items. The pageX and pageY are were the users fingers are currently pressing. With a little math we can add our width of our text items to the pageX to find the right side. Then we can add the height of our text to the pageY to find the bottom. The pageX and pageY will represent the top and left of our text.
const findHover = (layout, { pageX, pageY }) => {
  const [selected] =
    Object.entries(layout).find(([key, value]) => {
      return (
        value.pageX <= pageX &&
        value.pageY <= pageY &&
        value.pageX + value.width >= pageX &&
        value.pageY + value.height >= pageY
      );
    }) || [];

  return selected;
};
We use || []; so that when the find call returns undefined that it'll default to an array so that our array destructuring (const [selected] = ) will always work.
In our case we'll return undefined or if we found anything we'll return the selected key.
So now that we have a way to find it we need to use our onPanResponderMove to get access to the pageX and pageY of the users touch from the e.nativeEvent. Each time the user moves we'll re-run this function.
We need to do a setState here because when the user hovers over an item we want to be able to shown an indication. This function is called a lot, so we can use setState updater function to check if we are trying to update to the same value as we already have highlighted. If we are then we do a return null telling React to bail out and don't update.
onPanResponderMove: (e, gestureState) => {
  const { pageX, pageY } = e.nativeEvent;
  const foundValue = findHover(this.layout, { pageX, pageY });

  this.setState(state => {
    if (state.selected === foundValue) return null;
    return {
      selected: foundValue,
    };
  });
},
Finally we can apply our bold text style when the user has hovered over a particular action.
<Text
  style={[styles.text, this.state.selected === "like" && styles.bold]}
  ref={this.likeRef}
  onLayout={this.handleMeasure("like", this.likeRef)}
>
  Like
</Text>
<Text
  style={[styles.text, this.state.selected === "comment" && styles.bold]}
  ref={this.commentRef}
  onLayout={this.handleMeasure("comment", this.commentRef)}
>
  Comment
</Text>
<Text
  style={[styles.text, this.state.selected === "share" && styles.bold]}
  ref={this.shareRef}
  onLayout={this.handleMeasure("share", this.shareRef)}
>
  Share
</Text>
Handle Release
Now when we the finger is released our onPanResponderRelease will get called. This is where we can now determine what we do. If our selected was set we can do an alert, or in most cases you want to trigger an action. In Instagram's case you would maybe call a like on the image, open up a new comment modal, or open up the share screen.
We do a setState and clear out our current selected value by setting it to undefined. Then trigger our animation to just hide the modal.
The way you handle this can be up to you, but I do it after the animation has been completed. So 200ms the image will disappear, and then you'll be alerted to the action you committed. You may not want this to act like this so it's up to you.
onPanResponderRelease: (e, gestureState) => {
  Animated.timing(this.state.visible, {
    toValue: 0,
    duration: 200,
  }).start(() => {
    if (this.state.selected) {
      alert(`You released on ${this.state.selected}!`);
    }
    this.setState({
      selected: undefined,
    });
  });
},
Ending
That's it, we created a modal, measured the locations of action items, create a PanResponder and reacted to when the user hovered over one of our measured locations.
Go forth and customize this interaction to fit into your own applications.
Check out the live demo here https://snack.expo.io/@codedaily/instagram-modal