Create a Draggable Opacity Changing Circle with Reanimated in React Native

Intro Drag animations are a perfect use case for Reanimated. In the React Native
world this would usually have meant events for all drags being shot across the bridge. However that takes time, so responding and coordinating gestures may happen in a delayed fashion. With Reanimated and Gesture Handler we can construct responsive dragging animations that run only on the native side.
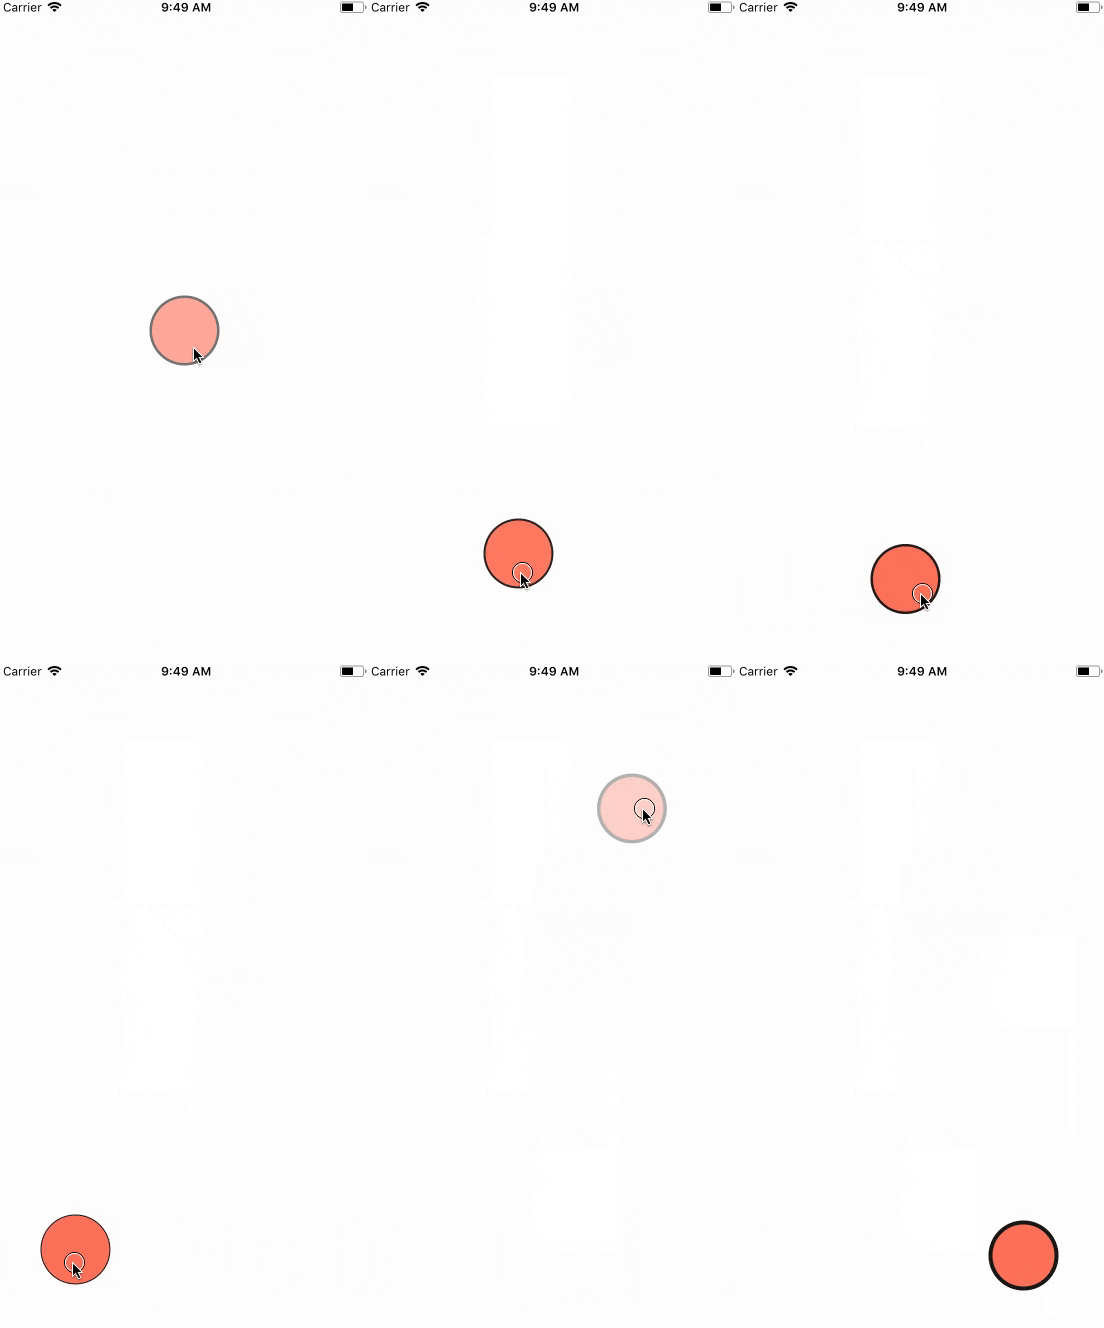
So we're going to build a draggable item that adjust it's opacity and border width when you drag it certain directions and distances.

Setup
We're going to start with a setup that relies on PanGestureHandler. This will allow us to get a continuous stream of events and movements from a users touch. We'll define a maxPointers={1} to let the gesture handler know we only want a single touch at maximum to activate our handler.
import React from "react";
import { StyleSheet, Text, View, Dimensions } from "react-native";
import Animated from "react-native-reanimated";
import { PanGestureHandler, State } from "react-native-gesture-handler";

const { width, height } = Dimensions.get("window");

export default class App extends React.Component {
  render() {
    return (
      <View style={styles.container}>
        <PanGestureHandler maxPointers={1}>
          <Animated.View style={[styles.box]} />
        </PanGestureHandler>
      </View>
    );
  }
}

const CIRCLE_SIZE = 70;

const styles = StyleSheet.create({
  container: {
    flex: 1,
  },
  box: {
    backgroundColor: "tomato",
    marginLeft: -(CIRCLE_SIZE / 2),
    marginTop: -(CIRCLE_SIZE / 2),
    width: CIRCLE_SIZE,
    height: CIRCLE_SIZE,
    borderRadius: CIRCLE_SIZE / 2,
    borderColor: "#000",
  },
});
Setup Drag Values
To hold onto the drag location from react native gesture handler we need to setup 2 Values. These we'll initialize with a 0 value.
const { Value } = Animated;

export default class App extends React.Component {
  dragX = new Value(0);
  dragY = new Value(0);

  render() {}
}
Setup Event Handler
Next we need to setup an event handler to give to our PanGestureHandler and also provide it with all the animated values so that it will set the correct values on them.
This means we need a new value which we'll call gestureState. We'll initialize it with a -1 because that's not any valid gesture state. Once any touch has been initiated it will go through a gesture phase. We can then use this later to know when the user has started and started moving the circle.
We pass in our 3 animated values corresponding with the values of the gesture handler event.
const { Value, event } = Animated;

export default class App extends React.Component {
  dragX = new Value(0);
  dragY = new Value(0);
  gestureState = new Value(-1);
  onGestureEvent = event([
    {
      nativeEvent: {
        translationX: this.dragX,
        translationY: this.dragY,
        state: this.gestureState,
      },
    },
  ]);
}
Now that we have an onGestureEvent setup we'll pass it into our PanGestureHandler. The onGestureEvent will be fired anytime there is a new gesture. That means we'll get a continuous stream from this callback for each time the user moves their finger. The state change handler is only fired when the gesture enters a new phase.
<PanGestureHandler
  maxPointers={1}
  onGestureEvent={this.onGestureEvent}
  onHandlerStateChange={this.onGestureEvent}
>
Offsets
We aren't done with animated values yet. We need to hold onto offsets for both x and y. The gesture event isn't reporting the position of the circle, it's reporting the positions of the gesture. If we just relied on our dragX and dragY for our location every time the user initiated a drag you would see a visible jump from the current position to the new dragX and dragY position.
So for now we use the screen width and height, and initialize our offsets to be in the center of the screen. Once this is passed to the circle it will then be positioned in the center of the screen as well.
export default class App extends React.Component {
  dragX = new Value(0);
  dragY = new Value(0);
  offsetX = new Value(width / 2);
  offsetY = new Value(height / 2);
  gestureState = new Value(-1);
}
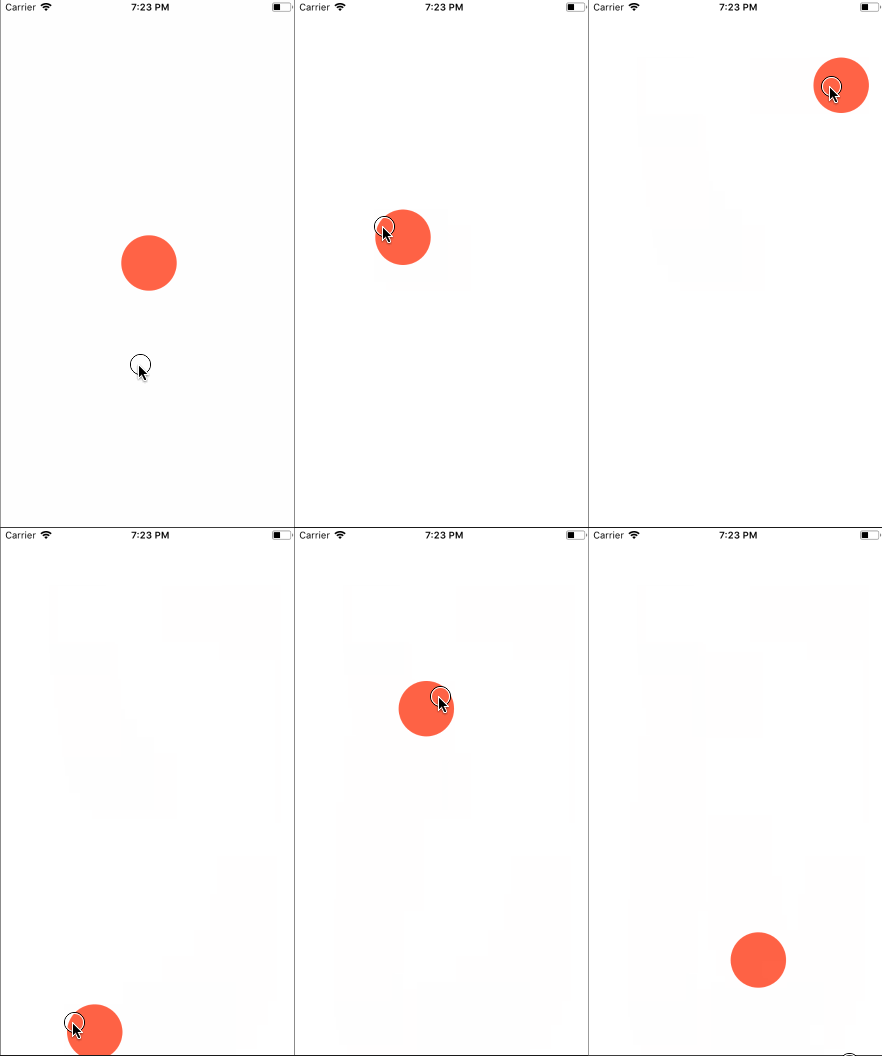
Add in Draggability
Now for adding drag functionality. Reanimated is declarative. Meaning we need to provide a bunch of rules for how the native side reacts when certain conditions are met. So we need to destructure a few more functions from animated.
const { cond, eq, add, set, Value, event } = Animated;
This transX is what will be provided to our Animated.View transform for the translateX position and like wise for the transY.
Lets break it down. First off we have a cond. The condition function will take 3 arguments. The first is what decides gets returned. So in our case we're using eq(this.gestureState, State.ACTIVE) for our true/false. The eq will return whether or not this.gestureState has been updated to ACTIVE.
When the gesture starts being dragged around this cond block knows to re-run and re-evaluate what the value of transX should be. So when the gestureState is active we will add our previous offsetX to our current dragX that is being updated from our PanGestureHandler.
This isn't effecting either the offsetX or dragX values, it's just adding them together then returning that value to the cond which is being provided as the value of our translateX. So this is just a way to do a temporary drag operation that uses the old position and the new position.
When the gestureState is no longer active, so the user has released that is when we save off the final value. We use the set method to save off the resulting value of our offsetX and current dragX and set the offsetX for the next drag situation. The final thing is that set will return whatever the value is, so our transX will hold onto the final value of offsetX + dragX and our circle will stay right where we left it.
transX = cond(
  eq(this.gestureState, State.ACTIVE),
  add(this.offsetX, this.dragX),
  set(this.offsetX, add(this.offsetX, this.dragX))
);
The same goes for the Y direction.
transY = cond(
  eq(this.gestureState, State.ACTIVE),
  add(this.offsetY, this.dragY),
  set(this.offsetY, add(this.offsetY, this.dragY))
);
Finally we wire up our transform on our Animated.View and we can now drag it around.

<PanGestureHandler
  maxPointers={1}
  onGestureEvent={this.onGestureEvent}
  onHandlerStateChange={this.onGestureEvent}
>
  <Animated.View
    style={[
      styles.box,
      {
        transform: [
          {
            translateX: this.transX,
          },
          {
            translateY: this.transY,
          },
        ],
      },
    ]}
  />
</PanGestureHandler>
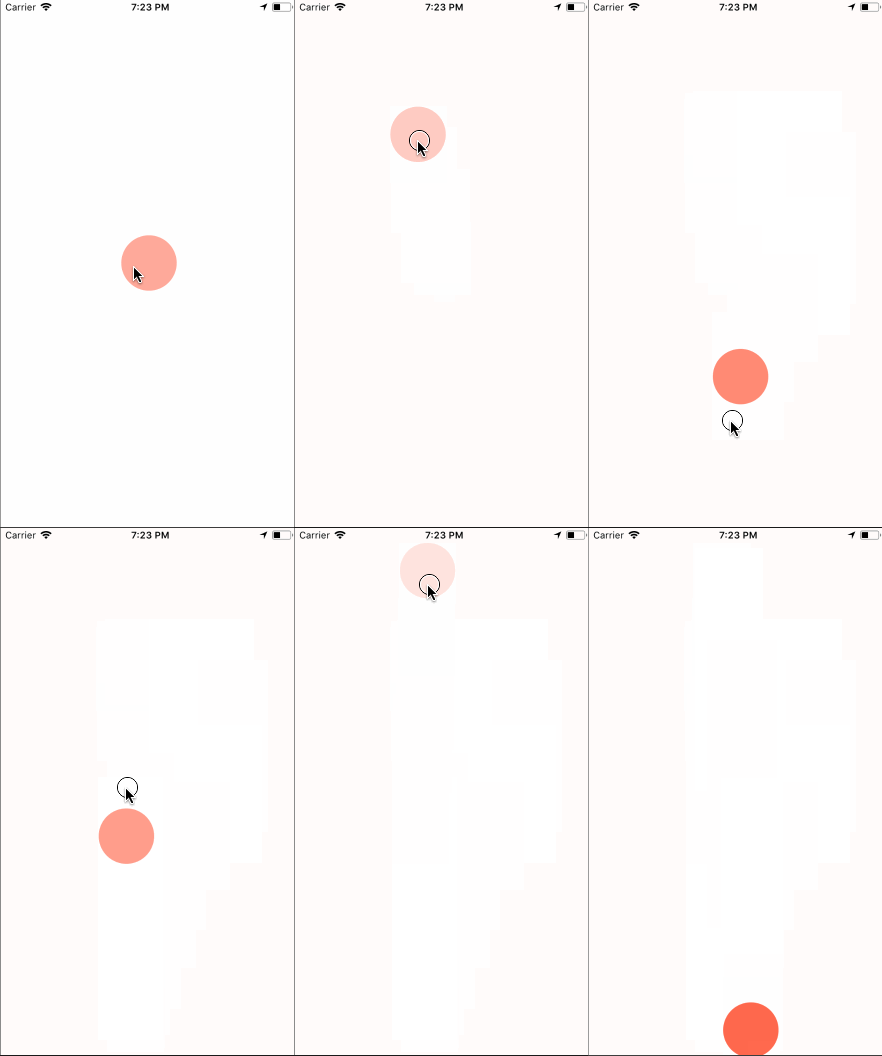
Opacity on Drag
Now if we want to add in effects for when the circle is dragged to certain locations we can accomplish that using interpolate.
const { cond, eq, add, set, Value, event, interpolate, Extrapolate } = Animated;
We setup our interpolate to always respond and react to our transY. Our inputRange will be the values that we expect our transY to be between. In our case we set it up to be between 0 and height of our screen.
We then tell it that our outputRange will be between .1 and 1. So when transY is at 0. so the top of the screen, it will interpolate to .1. Then when the circle is dragged to the bottom of the screen the opacity value will be 1.
opacity = interpolate(this.transY, {
  inputRange: [0, height],
  outputRange: [0.1, 1],
});
Then we wire it up to the opacity of our Animated.View.
<Animated.View
  style={[
    styles.box,
    {
      opacity: this.opacity,
      transform: [
        {
          translateX: this.transX,
        },
        {
          translateY: this.transY,
        },
      ],
    },
  ]}
/>

BorderWidth on Drag
The border width interpolation is the same as the opacity however we look at the transX and use the width of the screen instead.
Our outputRange we've changed to 0 and 5. We use Extrapolate.CLAMP to indicate that we never want our output to be less than 0 or greater than 5 ever.
borderWidth = interpolate(this.transX, {
  inputRange: [0, width],
  outputRange: [0, 5],
  extrapolate: Extrapolate.CLAMP,
});
Then we wire it up to the borderWidth of our circle.
<Animated.View
  style={[
    styles.box,
    {
      opacity: this.opacity,
      borderWidth: this.borderWidth,
      transform: [
        {
          translateX: this.transX,
        },
        {
          translateY: this.transY,
        },
      ],
    },
  ]}
/>
Ending
There we have it. We have a purely native drag implementation. We can drag items around the screen and we've written conditions that will watch our translations and respond by adjusting opacity or border width.
Check out the live demo here.
