React-Native Animated API with PanResponder

Introduction
The previous example was a very basic one, just moving a box around the screen. But you'll likely want to do something by touch. Dragging, dropping, flicking, all those good mobile interactions. I previously covered how to make Tinder cards but I didn't add any true animations in. With the new Animated API you can make an even better Tinder card demo. And that's what Brent did.
This blog post was inspired by https://github.com/brentvatne/react-native-animated-demo-tinder. I decide to break it apart, simplify it and explain the bits as we re-build it.
We will not fully reimplement it since you can learn the full ins and outs by checking out the code.

Setup
Just like before we'll get a pretty basic setup going
Imports/Variables
var React = require("react-native");

var { AppRegistry, StyleSheet, View, Animated, PanResponder } = React;

var SQUARE_DIMENSIONS = 100;
Styles
var styles = StyleSheet.create({
  container: {
    flex: 1,
    alignItems: "center",
    justifyContent: "center",
  },
  square: {
    width: SQUARE_DIMENSIONS,
    height: SQUARE_DIMENSIONS,
    backgroundColor: "blue",
  },
});
Main Code
var AnimatedFlick = React.createClass({
  getInitialState: function () {
    return {
      pan: new Animated.ValueXY(),
    };
  },
  getStyle: function () {
    return [
      styles.square,
      {
        transform: this.state.pan.getTranslateTransform(),
      },
    ];
  },
  render: function () {
    return (
      <View style={styles.container}>
        <Animated.View style={this.getStyle()} />
      </View>
    );
  },
});
Pan Responder
The PanResponder is our touch handler. The great thing about the PanResponder and Animated API were that they were made to work together.
We need to create our PanResponder
  componentWillMount: function() {
      this._animatedValueX = 0;
      this._animatedValueY = 0;
      this.state.pan.x.addListener((value) => this._animatedValueX = value.value);
      this.state.pan.y.addListener((value) => this._animatedValueY = value.value);

        this._panResponder = PanResponder.create({
          onMoveShouldSetResponderCapture: () => true, //Tell iOS that we are allowing the movement
          onMoveShouldSetPanResponderCapture: () => true, // Same here, tell iOS that we allow dragging
          onPanResponderGrant: (e, gestureState) => {
            this.state.pan.setOffset({x: this._animatedValueX, y: this._animatedValueY});
            this.state.pan.setValue({x: 0, y: 0}); //Initial value
          },
          onPanResponderMove: Animated.event([
            null, {dx: this.state.pan.x, dy: this.state.pan.y}
          ]), // Creates a function to handle the movement and set offsets
          onPanResponderRelease: () => {
            this.state.pan.flattenOffset(); // Flatten the offset so it resets the default positioning
          }
        });
  },
  componentWillUnmount: function() {
    this.state.pan.x.removeAllListeners();
    this.state.pan.y.removeAllListeners();
  },
We need onMoveShouldSetResponderCapture and onMoveShouldSetPanResponderCapture to always return true. This tells iOS that we are allowing the user to make movements and we're going to track them.
The function onPanResponderGrant is called once when we approve the animation. This gives us all of our initial values. We set the start value, and then also the offset which is our current pan values.
UPDATE As of .11 of React Native, getAnimatedValue has been deprecated. The accepted practice is to add a listener to each of the x/y values on our Animated.Value. Then we keep track of them. The callback/arrow function will be given an object like so {value: .123} or whatever the corresponding value is. We then update our tracking variables.
Don't forget to removeAllListeners in our componetWillUnmount or we'll have a memory leak.
Then we set our animation start values to 0,0. This basically resets our movement changes so our delta x,y will be applied from a 0 point. Hopefully that makes sense.
We give our onPanResponderMove an Animated.event. This creates a function that will automatically take the gestureState which has 2 keys on it dx and dy and put those changes on our this.state.pan.x and our this.state.pan.y respectively.
Finally onPanResponderRelease we call flattenOffset. This takes the current x,y and the current offset (aka how much you've dragged it around). And combines them.
The internal code for flattenOffset looks like this
  flattenOffset(): void {
    this._value += this._offset;
    this._offset = 0;
  }
  render: function() {
    return (
      <View style={styles.container}>
        <Animated.View
          style={this.getStyle()}
          {...this._panResponder.panHandlers}
        />
      </View>
    );
  }
Here we spread the handlers onto the our Animated.View so it sets up all the calls correctly.
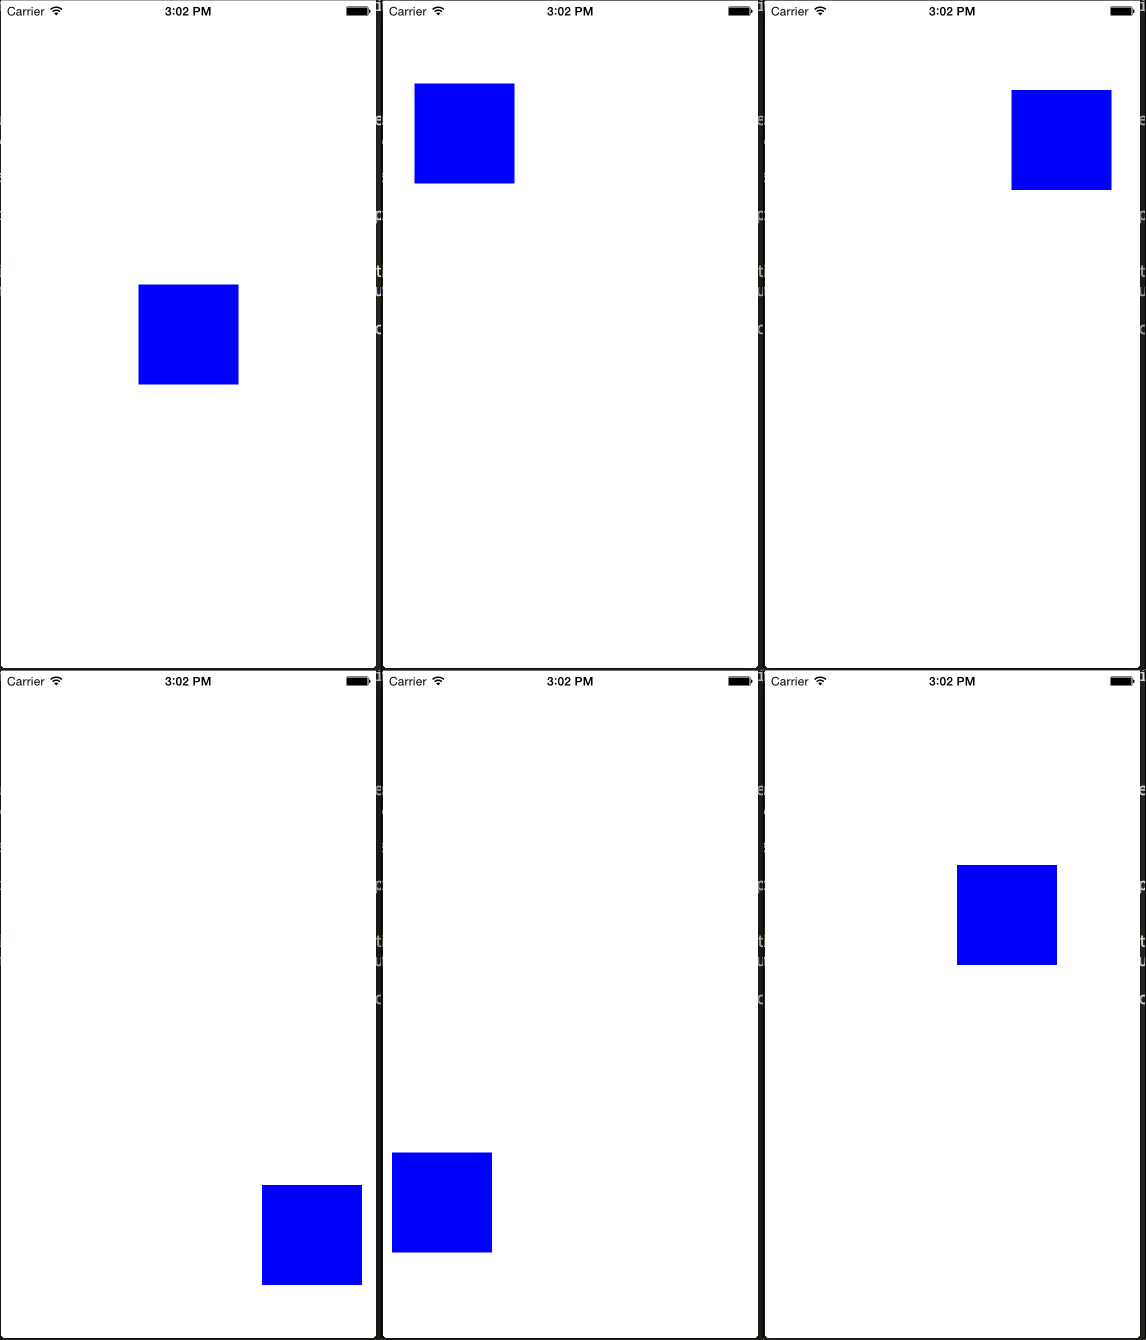
We have a square that moves
Great we have a square that moves and it stays where we left it, and also when we move it again it picks up from the same coordinates that we dropped it at.

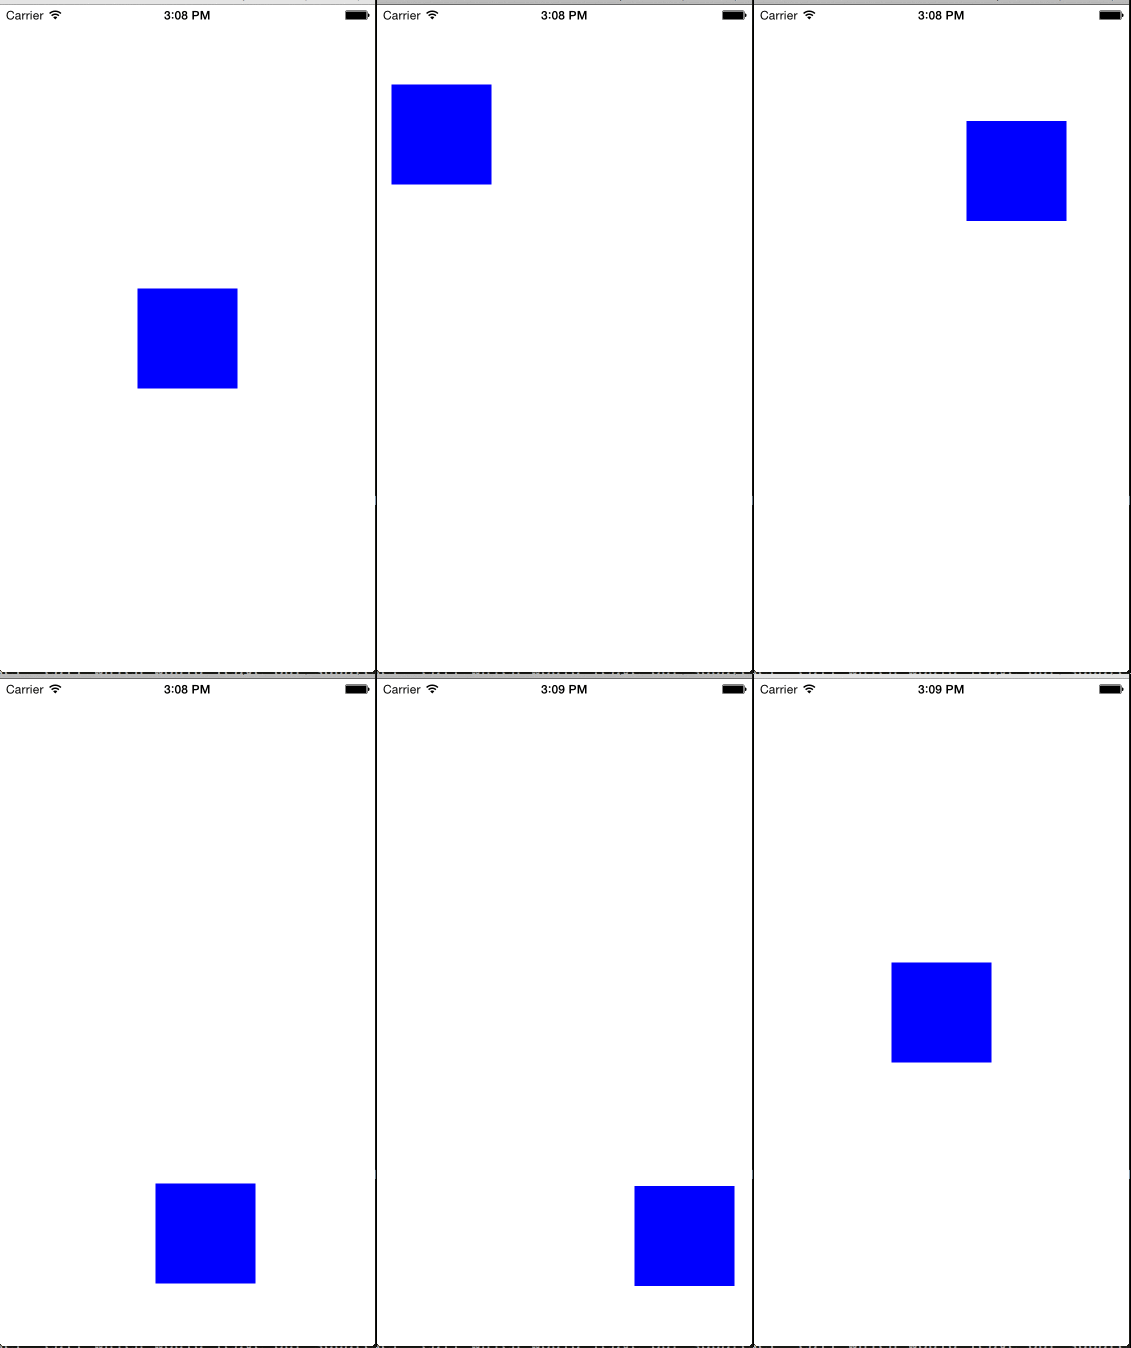
Reset to 0 with a spring
We just replace our flattenOffset call which would leave our square where we left it and instead create a spring that animates our this.state.pan back to 0. Which will correctly animate our x,y back to 0 and provide a nice little bounce.
Here is the code.
onPanResponderRelease: () => {
  Animated.spring(this.state.pan, {
    toValue: 0,
  }).start();
};
Yes it is really that simple.

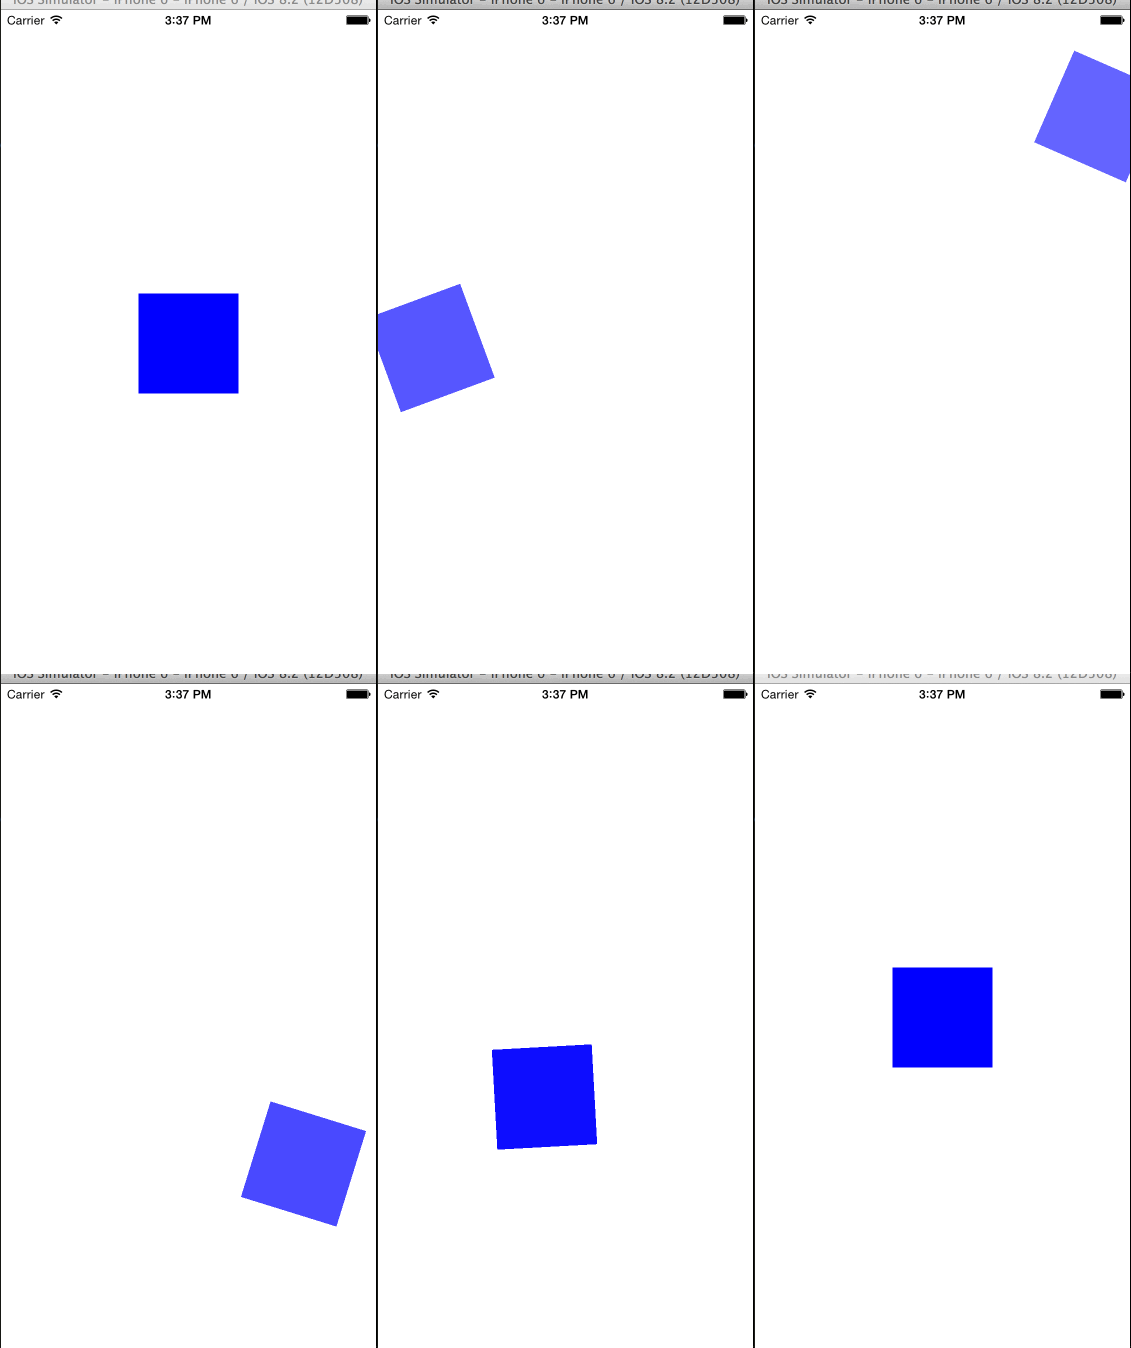
Opacity and rotation
Because we want the opacity and the rotation to be tied to the movement position we can use the interpolate we created from Animated.ValueXY on this.state.pan .
We'll have to make some small adjustments but the only thing we need to change is our getStyle function.
  getStyle: function() {


    return [
              styles.square,
              {
                transform: [
                  {
                    translateX: this.state.pan.x
                  },
                  {
                    translateY: this.state.pan.y
                  },
                  {
                    rotate: this.state.pan.x.interpolate({inputRange: [-200, 0, 200], outputRange: ["-30deg", "0deg", "30deg"]})
                  }
                ]
              },
              {
                opacity: this.state.pan.x.interpolate({inputRange: [-200, 0, 200], outputRange: [0.5, 1, 0.5]})
              }
            ];
  },
We create an interpolate that determines the correct value from an inputRange.
When our drag is -200 or greater our rotate will be -30 degrees, at 0 it is 0, and if moved to the right at 200 or great then it's 30 degrees.
Interpolate is smart enough to take an input range, and interpolate an inbetween degree. So as you slowly move the card the degrees will adjust, so an input value of 100 would translate to a 15 degree rotation.
For opacity we want the same inputs, except our outputs will be .5 for both sides and 1 at 0 movement.
The interpolation of the opacity operates the same as the degrees, as you rotate it'll adjust the opacity to a maximum/minimum of .5.

Final
This doesn't explain all the techniques used in the tinder card demo. One such thing is the flicking capabilities.
That uses Animated.decay and some physics (velocity,friction) to animate a value.
#Full Code
var React = require("react-native");

var { AppRegistry, StyleSheet, View, Animated, PanResponder } = React;

var SQUARE_DIMENSIONS = 100;

var AnimatedFlick = React.createClass({
  getInitialState: function () {
    return {
      pan: new Animated.ValueXY(),
    };
  },
  componentWillMount: function () {
    this._animatedValueX = 0;
    this._animatedValueY = 0;
    this.state.pan.x.addListener(
      (value) => (this._animatedValueX = value.value)
    );
    this.state.pan.y.addListener(
      (value) => (this._animatedValueY = value.value)
    );

    this._panResponder = PanResponder.create({
      onMoveShouldSetResponderCapture: () => true,
      onMoveShouldSetPanResponderCapture: () => true,
      onPanResponderGrant: (e, gestureState) => {
        this.state.pan.setOffset({
          x: this._animatedValueX,
          y: this._animatedValueY,
        });
        this.state.pan.setValue({ x: 0, y: 0 });
      },
      onPanResponderMove: Animated.event([
        null,
        { dx: this.state.pan.x, dy: this.state.pan.y },
      ]),
      onPanResponderRelease: () => {
        Animated.spring(this.state.pan, {
          toValue: 0,
        }).start();
      },
    });
  },
  componentWillUnmount: function () {
    this.state.pan.x.removeAllListeners();
    this.state.pan.y.removeAllListeners();
  },
  getStyle: function () {
    return [
      styles.square,
      {
        transform: [
          {
            translateX: this.state.pan.x,
          },
          {
            translateY: this.state.pan.y,
          },
          {
            rotate: this.state.pan.x.interpolate({
              inputRange: [-200, 0, 200],
              outputRange: ["-30deg", "0deg", "30deg"],
            }),
          },
        ],
      },
      {
        opacity: this.state.pan.x.interpolate({
          inputRange: [-200, 0, 200],
          outputRange: [0.5, 1, 0.5],
        }),
      },
    ];
  },
  render: function () {
    return (
      <View style={styles.container}>
        <Animated.View
          style={this.getStyle()}
          {...this._panResponder.panHandlers}
        />
      </View>
    );
  },
});

var styles = StyleSheet.create({
  container: {
    flex: 1,
    alignItems: "center",
    justifyContent: "center",
  },
  square: {
    width: SQUARE_DIMENSIONS,
    height: SQUARE_DIMENSIONS,
    backgroundColor: "blue",
  },
});

AppRegistry.registerComponent("SampleApp", () => AnimatedFlick);