Conditional JavaScript Callbacks with Reanimated in React Native
Intro
The point of React Native is to have your logic inside of JS. Reanimated is purely declarative and native. In order to communicate back you need to use call which is a declared method that you provide a list of animated values and a JavaScript function.
When dealing with the callback it must be bound to this when passed in because things need to be setup at first render. This means you have 2 options. The first is to setup in constructor and do the old bind method. However if you want to still use class property syntax you would need to use componentWillMount which has been deprecated.

Setup
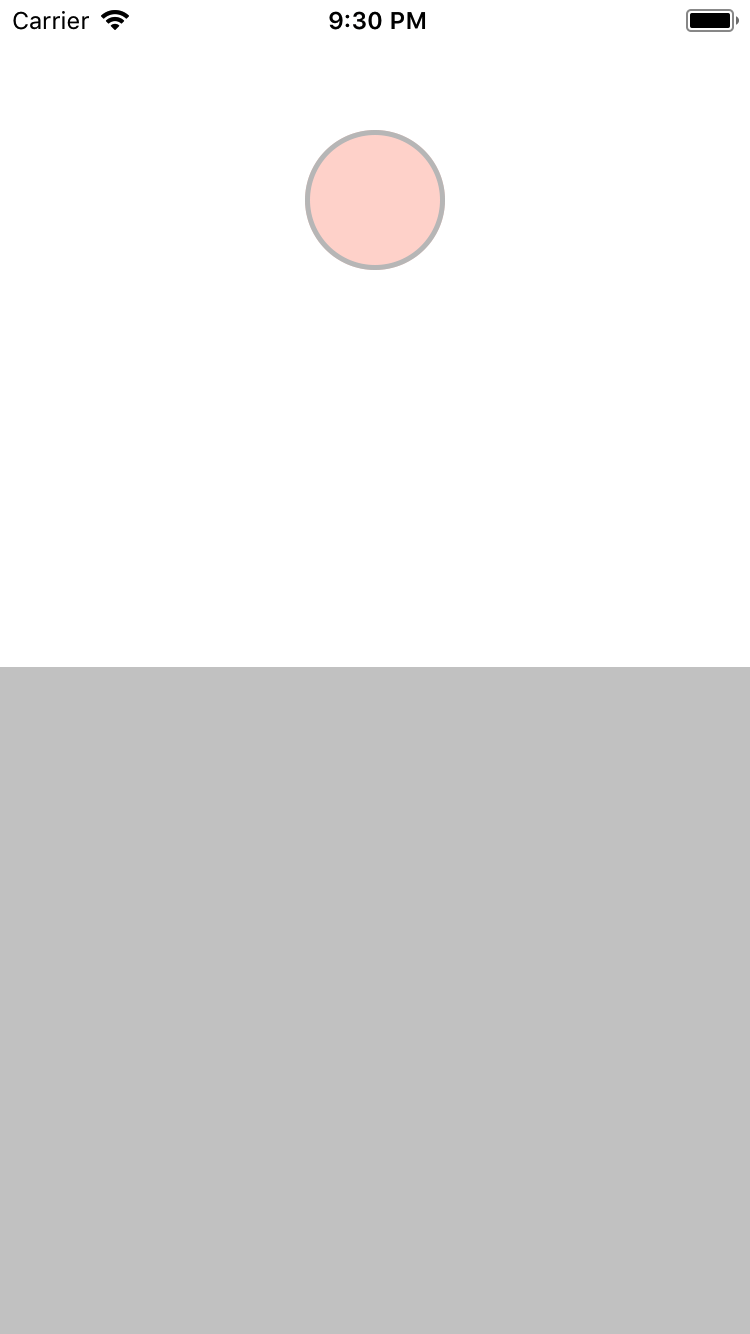
We first need to setup our 2 sides. One side will just be white and blank. Then we'll setup a drop zone at the bottom of the screen.
We'll also create a circle that we will eventually drag.
import React from "react";
import { StyleSheet, Text, View, Dimensions } from "react-native";
import Animated from "react-native-reanimated";
import { PanGestureHandler, State } from "react-native-gesture-handler";
const { width, height } = Dimensions.get("window");

export default class App extends React.Component {
  render() {
    return (
      <View style={styles.container}>
        <View style={styles.dropZone} />
        <PanGestureHandler maxPointers={1}>
          <Animated.View style={[styles.box]} />
        </PanGestureHandler>
      </View>
    );
  }
}

const CIRCLE_SIZE = 70;

const styles = StyleSheet.create({
  container: {
    flex: 1,
  },
  dropZone: {
    position: "absolute",
    bottom: 0,
    left: 0,
    right: 0,
    backgroundColor: "rgba(0,0,0,.2)",
    height: "50%",
  },
  box: {
    backgroundColor: "tomato",
    position: "absolute",
    marginLeft: -(CIRCLE_SIZE / 2),
    marginTop: -(CIRCLE_SIZE / 2),
    width: CIRCLE_SIZE,
    height: CIRCLE_SIZE,
    borderRadius: CIRCLE_SIZE / 2,
    borderColor: "#000",
  },
});
Setup Dragging
Our dragging is a combination of the current drag position that is held in dragX and dragY. Then we use our offsets to hold onto the combination of all drag differences over time. That way we won't have any jumping when you adjust the dragging circle multiple times.
Then we save off our gestureState so we can compare and know when the gestures start and end. Then we also setup our event that will be passed to our PanGestureHandler.
const {
  cond,
  eq,
  add,
  call,
  set,
  Value,
  event,
  interpolate,
  Extrapolate,
  block,
} = Animated;

export default class App extends React.Component {
  constructor(props) {
    super(props);
    this.dragX = new Value(0);
    this.dragY = new Value(0);
    this.offsetX = new Value(width / 2);
    this.offsetY = new Value(100);
    this.gestureState = new Value(-1);
    this.onGestureEvent = event([
      {
        nativeEvent: {
          translationX: this.dragX,
          translationY: this.dragY,
          state: this.gestureState,
        },
      },
    ]);
  }
}
Now we focus on the combination of all the animated values we setup. We do multiple combinations of adding offset to a drag so we save off as addX and addY to save on typing out the same code multiple times.
When we compare our gestureState and our drag is active our addX or addY will run. Once completed and transitions to a non-active state we update our offsets to contain the previous offset as well as the current drag position.
const addY = add(this.offsetY, this.dragY);
const addX = add(this.offsetX, this.dragX);
this.transX = cond(
  eq(this.gestureState, State.ACTIVE),
  addX,
  set(this.offsetX, addX)
);
this.transY = cond(
  eq(this.gestureState, State.ACTIVE),
  addY,
  set(this.offsetY, addY)
);
Now we apply our handler to onGestureEvent and onHandlerStateChange then pass our transX and transY into our transform.
<PanGestureHandler
  maxPointers={1}
  onGestureEvent={this.onGestureEvent}
  onHandlerStateChange={this.onGestureEvent}
>
  <Animated.View
    style={[
      styles.box,
      {
        transform: [
          {
            translateX: this.transX,
          },
          {
            translateY: this.transY,
          },
        ],
      },
    ]}
  />
</PanGestureHandler>

The Callback
This is where the callback to the javascript land comes into place. We'll first declare an onDrop function. The onDrop function will receive both the x and the y values.
We need to bind our this.onDrop to the current instance so we do that first. With Reanimated being declarative we must declare a block that will create the appropriate conditions.
In our case we chose the transY and converted the else section of the condition to a block. When the non-active condition is no longer met rather than running just the set we'll run another condition.
In our case we'll pass an array which just tells Reanimated to run both commands and return the last item in the array. So in our case it'll evaluate the second cond but return the combination of offsetY and dragY like we expected.
We'll check that the gestureState is now in the END state as there are multiple non-ACTIVE states. If it is then we execute our call command. Which takes an array of animated values as the first argument and a JS function to call back with those values.
Because of the way Reanimated and React Native Gesture Handler works the additions haven't been flushed through yet. So we can't simply just provide the offsetX and offsetY, and we also can't provide transX or transY as that would be self referential.
The solution here is to provide the 2 add functions we had saved off earlier. This will add up for the current gesture the offset and the drag and provide appropriate values to our onDrop function.
export default class App extends React.Component {
  constructor(props) {
    super(props);
    this.onDrop = this.onDrop.bind(this);

    this.transY = cond(eq(this.gestureState, State.ACTIVE), addY, [
      cond(eq(this.gestureState, State.END), call([addX, addY], this.onDrop)),
      set(this.offsetY, addY),
    ]);
  }

  onDrop([x, y]) {
    // Logic will go here
  }
}
Logic
Now comes the logic. We need to get a few things first. We need the drop zone layout so we can know whether or not the circle is in the box or not. We use the onLayout function and provide it a saveDropZone function.
We destructure the layout object and do a little math to save off the drop zone top/bottom/left/right locations.
saveDropZone = (e) => {
  const { width, height, x, y } = e.nativeEvent.layout;
  this.top = y;
  this.bottom = y + height;
  this.left = x;
  this.right = x + width;
};

<View style={styles.dropZone} onLayout={this.saveDropZone} />;
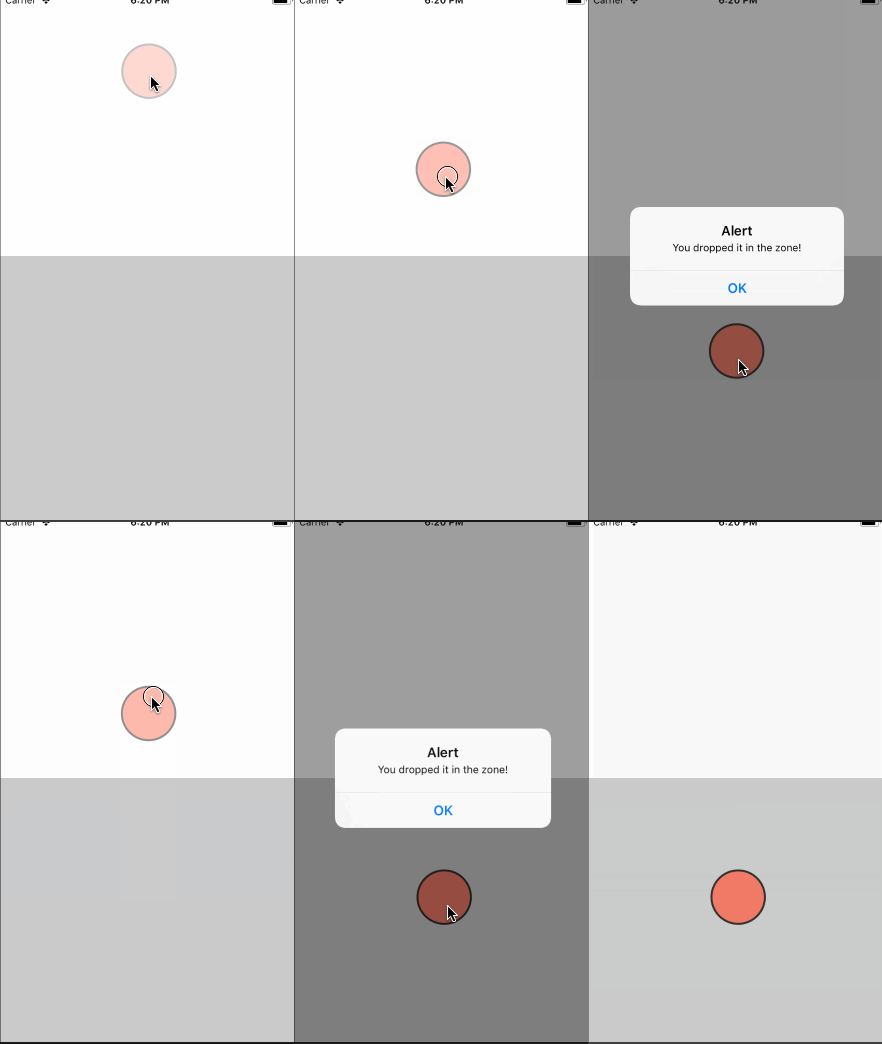
With the drop zone information saved off we can then compare that to the x and y that gets provided to the onDrop. Here we make sure the x is in between the left/right, and then we make sure the y is in between the top and bottom of our drop zone.
If it is then we know that the circle has moved into the drop zone and we can alert.
  onDrop([x, y]) {
    if (x >= this.left && x <= this.right && (y >= this.top && y <= this.bottom)) {
      alert("You dropped it in the zone!");
    }
  }
Ending
Reanimated provides mechanisms to keep your animations purely native and only talk back to the JavaScript world when necessary. This is a different approach to Animated that will always talk back and forth regardless of whether you want to or not.
This provides the most effect way to have performant animations and still execute JavaScript logic whenever is necessary.
