Create a Tap-and-Hold Toggle Opacity Animated Box with Reanimated in React Native
Intro
Animations with Reanimated can be more difficult to deal with than normal Animated. However when complex animations cause performance issues having a full understanding of Reanimated will empower you to create animations without issue.
In normal Animated fashion you would call Animated.timing() and pass in an Animated.Value. You would supply it with a configuration including the easing, toValue, and duration. Based upon the difference between the current value, the toValue supplied and how long the animation should take the Animated library will calculate each step to transition.
A similar concept applies to Reanimated but it will leverage a Clock, it will tick every frame and based upon the configuration you've provided will advanced the position. Rather than calling .start or .stop you call startClock and stopClock.
In Animated the start() would take a callback and when it was completed it would be called with a finished boolean. In Reanimated there is a finished value that will be set to 1. Additionally to check if an animation is running you use clockRunning.
These will all be more clear as soon as we dive into code.
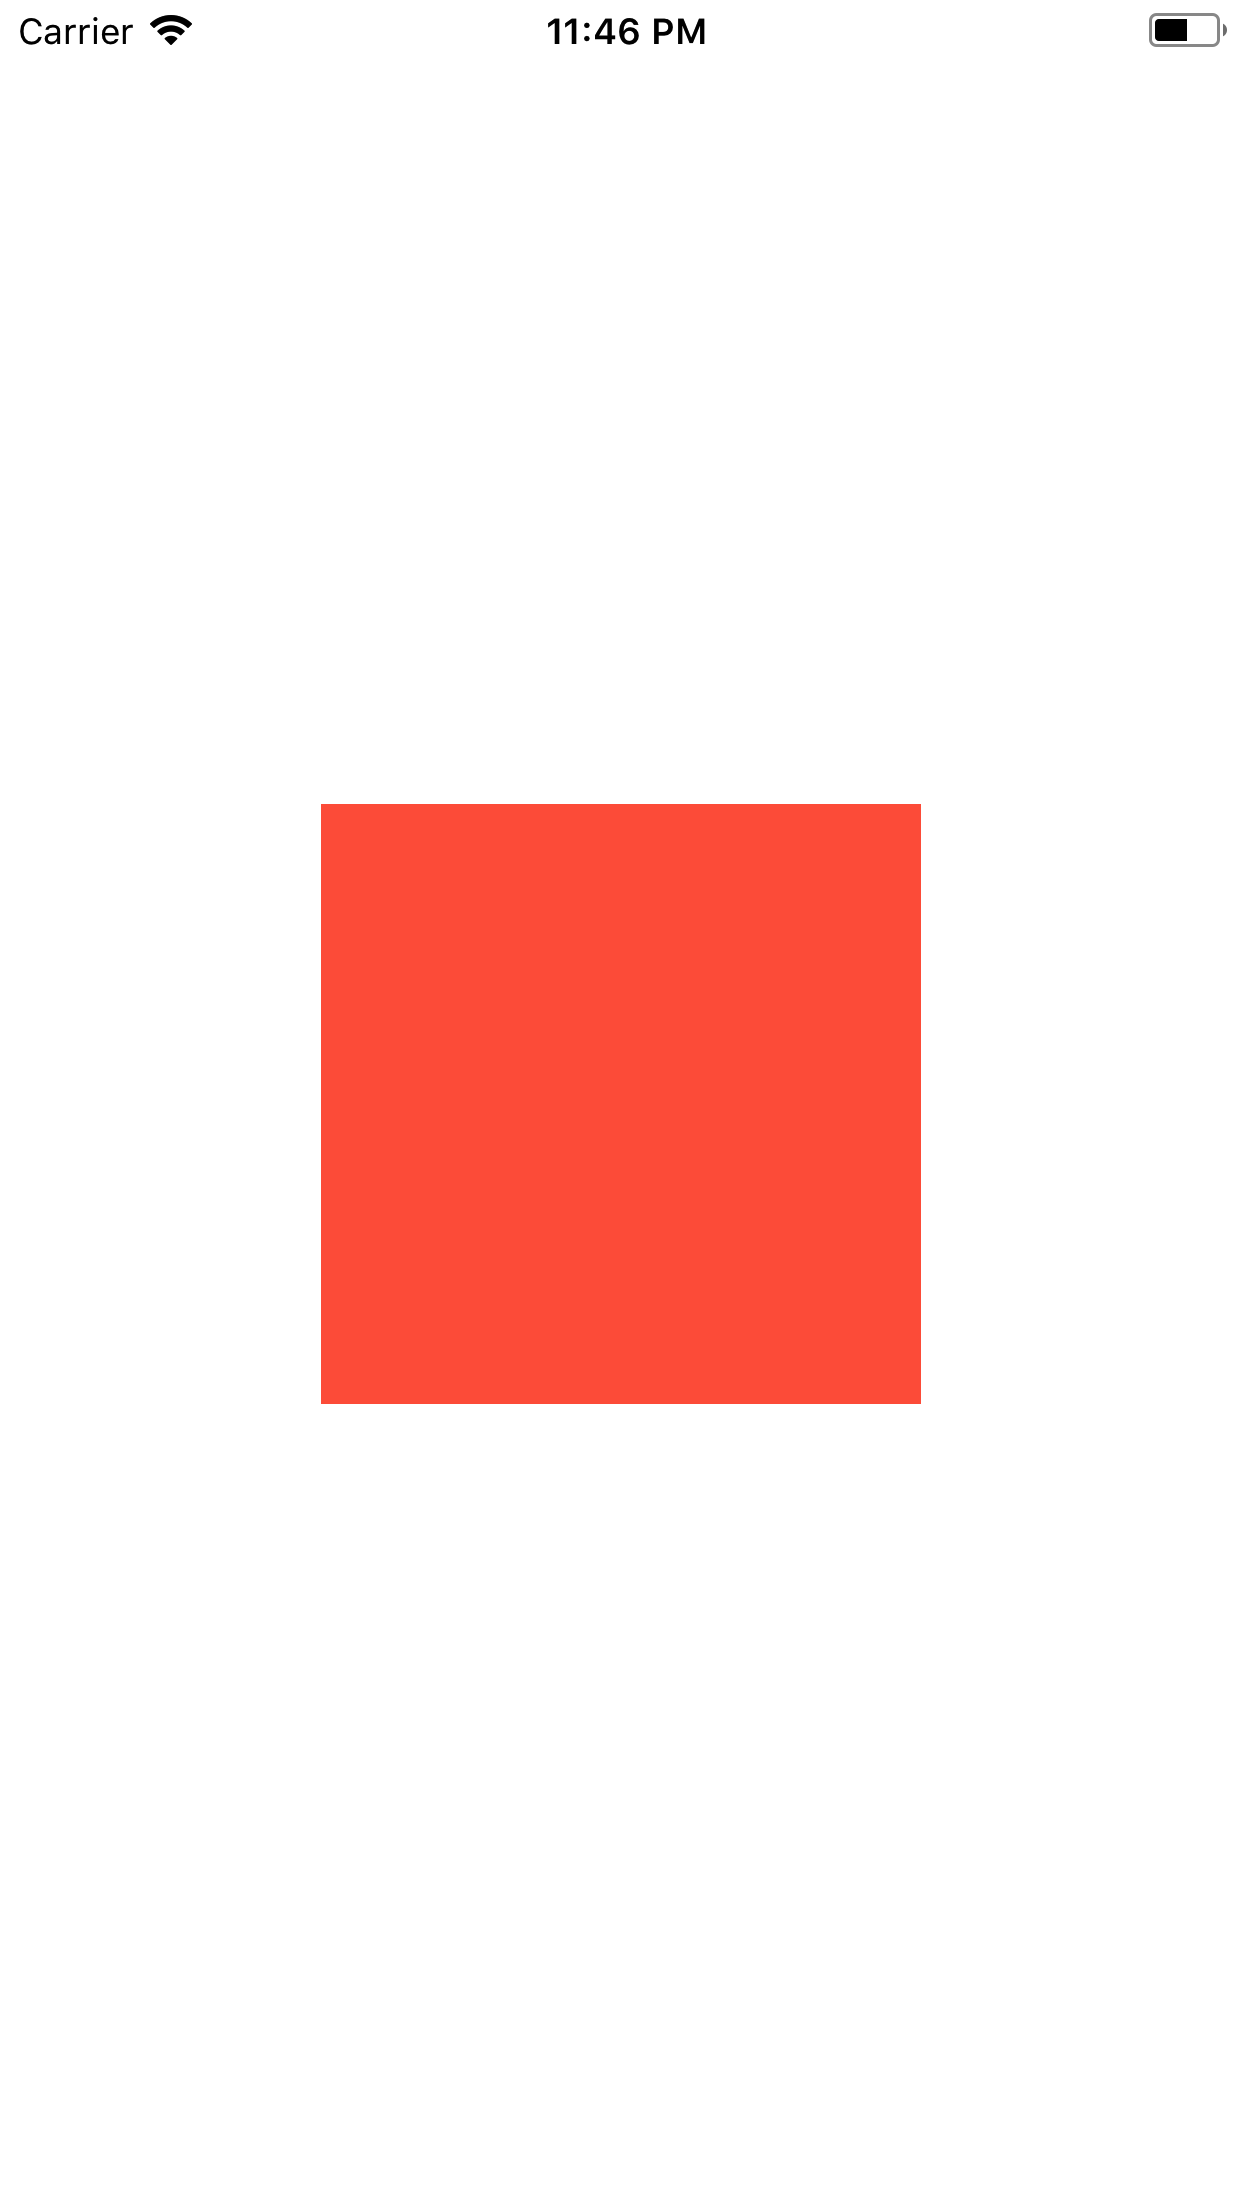
Setup a Box
The first step is our box. This is basically going to turn into a button but we have to have something to touch. We utilize Animated.View from Reanimated so it can handle the animated value that we are going to pass to it later.
import Animated from "react-native-reanimated";

render() {
    return (
      <View style={styles.container}>
        <Animated.View
          style={[
            styles.rect,
          ]}
        />
      </View>
    );
}
Here we just set up our styling.
const styles = StyleSheet.create({
  container: {
    flex: 1,
    alignItems: "center",
    justifyContent: "center",
  },
  rect: {
    width: 200,
    height: 200,
    backgroundColor: "tomato",
  },
});
Gesture Handler
Next we are going to setup our gestureState value. This is going to hold onto the state of our TapGestureHandler. We need to use Value from Reanimated to hold -1 which is going to be a non-existent state of the gesture handler.
We then use event from Reanimated to setup a traversal of a value that would be called back to the onHandlerStateChange function. The syntax is an array, which we have placed an object in the first position of the array which corresponds with the first argument the callback would be called with. Then the object tells Reanimated to look at nativeEvent then state on the nativeEvent and whatever is at state assign that to our Value called gestureState.
This syntax here is class property syntax. The value of gestureState will be on the class instance. So in order to reference it we need to do this.gestureState.
import Animated from "react-native-reanimated";
import { TapGestureHandler } from "react-native-gesture-handler";

const { Value, event } = Animated;

export default class Example extends Component {
  gestureState = new Value(-1);
  onStateChange = event([
    {
      nativeEvent: { state: this.gestureState },
    },
  ]);
}
Now we pass our this.onStateChange event handler from Reanimated into the onHandlerStateChange callback of the TapGestureHandler.
render() {
    return (
      <View style={styles.container}>
        <TapGestureHandler minDist={0} onHandlerStateChange={this.onStateChange}>
          <Animated.View
            style={[
              styles.rect,
            ]}
          />
        </TapGestureHandler>
      </View>
    );
Clocks
Now onto the clocks. We need to create a new instance of a Clock. This is going to be an instance that can be started and stopped. When started it will tick on the native side and handle the configurations that you've passed it. This is essentially the requestAnimationFrame but in Reanimated.
Now the other thing is we're going to need to setup a function. We'll call it runOpacityTimer and we'll pass it our clock as well as our gestureState. The clock is so we can control timing opacity animation and then also the gestureState so we can observe it and trigger the animation when the button is clicked.
The return of runOpacityTimer will eventually be the value pass to our button.
const { Value, event, Clock } = Animated;

export default class Example extends Component {
  gestureState = new Value(-1);
  clock = new Clock();
  onStateChange = event([
    {
      nativeEvent: { state: this.gestureState },
    },
  ]);
  opacity = runOpacityTimer(this.clock, this.gestureState);
}
Clock State and Config
Running a timing animation we'll need to define an Easing. So we'll first destructure Easing off of Reanimated.
const { Value, event, Clock, Easing } = Animated;
Now lets take a look at the config for the Clock and what will be passed into our timing call.
The first is state this is the state of our clock. It has 4 values. The finished will either be a 0 or 1. 0 meaning hasn't finished and 1 meaning the clock has completed. The time and frameTime are used to determine how much progress is needed to be made on the animation.
The timing animation is done using the other building blocks provided by Reanimated. You can check it out the timing code here
For our config that will be passed to our timing we setup our duration of 300, we set our toValue to -1 which will be explained why later. Then finally we setup our easing for how we want our animation to be processed.
const runOpacityTimer = (clock, gestureState) => {
  const state = {
    finished: new Value(0),
    position: new Value(0),
    time: new Value(0),
    frameTime: new Value(0),
  };

  const config = {
    duration: 300,
    toValue: new Value(-1),
    easing: Easing.inOut(Easing.ease),
  };
};
Block
We'll now setup a bunch of conditions and our animation so we need to grab all of these things off of Reanimated.
const { Value, event, Clock, Easing, timing, block, stopClock } = Animated;
We've already seen our config and state. But now we need to setup our timing. When we want to combine a bunch of animations, conditionals, and like wise we use block. This will create a block of actions that are required for the animation.
const runOpacityTimer = (clock, gestureState) => {
  const state = {
    finished: new Value(0),
    position: new Value(0),
    time: new Value(0),
    frameTime: new Value(0),
  };

  const config = {
    duration: 300,
    toValue: new Value(-1),
    easing: Easing.inOut(Easing.ease),
  };

  return block([
    timing(clock, state, config),
    cond(state.finished, stopClock(clock)),
  ]);
};
In our case we creating a timing animation. We pass in our clock that the timing animation will work off of. Our state of animated values, and finally our config. We then use our cond which will execute when a condition is met. In our case when state.finished that is controlled by the clock is true then we'll stop our clock.
Respond to Gestures
Now we need to bring in State from gesture handler so we can compare our gestureState to what is happening to our TapGestureHandler. Additionally we'll bring a bunch of other necessary reanimated functions.
import { State, TapGestureHandler } from "react-native-gesture-handler";

const {
  cond,
  eq,
  set,
  neq,
  and,
  Value,
  event,
  Clock,
  startClock,
  stopClock,
  timing,
  block,
  interpolate,
  Extrapolate,
} = Animated;
Lets look at our block and break it down. There are two phases of the opacity animation. When you press we'll animate the opacity out. Then as soon as you release it will animate the button to full opacity. This may or may not be once the timing animation has completely finished.
So our comparison here starts out with a cond which just means when a condition is met do something. In our case we want to look at 2 things so we use and. When our gestureState (the state of the user tapping) has BEGAN and also is neq(not equal) to 1. Then we do some set calls to reset our animation if it were already running. This resets it to a fresh state. Notice we didn't reset our position though. This will ensure the appropriate progress is made from the existing opacity of the button. If we reset this to either 1 or 0 the opacity would completely reset to either being visible or not visible and we want it to reverse from the current location that the user let up at.
We set our toValue to 1. Remember it started at -1. Then run our startClock to kick off our timing animation.
 cond(and(eq(gestureState, State.BEGAN), neq(config.toValue, 1)), [
      set(state.finished, 0),
      set(state.time, 0),
      set(state.frameTime, 0),
      set(config.toValue, 1),
      startClock(clock),
    ]),
Next up we do the same thing but for when the tap gesture has entered the END phase, aka when the user lifts their finger. Again we do a neq to compare to the toValue.
cond(and(eq(gestureState, State.END), neq(config.toValue, 0)), [
      set(state.finished, 0),
      set(state.time, 0),
      set(state.frameTime, 0),
      set(config.toValue, 0),
      startClock(clock),
    ]),
The reason the neq(config.toValue, 0) or the comparison to the toValue is necessary is because of how Reanimated works. It will look at all the nodes and subnodes for any changes to determine if the any segment of the our declaration needs to be run.
So the gestureState and additionally our clock are nodes that are constantly changing. So what that means if we didn't add in our neq then the set calls would always be called and our animation would never trigger.
When dealing with clocks you must be very explicit about the conditions that you want otherwise you may have unintended consequences.
So finally put all together it would look like this.
return block([
  cond(and(eq(gestureState, State.BEGAN), neq(config.toValue, 1)), [
    set(state.finished, 0),
    set(state.time, 0),
    set(state.frameTime, 0),
    set(config.toValue, 1),
    startClock(clock),
  ]),
  cond(and(eq(gestureState, State.END), neq(config.toValue, 0)), [
    set(state.finished, 0),
    set(state.time, 0),
    set(state.frameTime, 0),
    set(config.toValue, 0),
    startClock(clock),
  ]),
  timing(clock, state, config),
  cond(state.finished, stopClock(clock)),
]);
Final Value Interpolation
So finally the last thing we need to do is reverse our position with interpolate. What happens is our position on our clock will transition from 0 to 1. If we want our button to appear in the beginning and be visible that means our final return value must be 1.
So with our interpolate we look at state.position which starts at 0 and then flip it around with our outputRange. So the opacity will be 1 when position is 0. Extrapolate isn't totally necessary here but it will clamp our output to only be between 0 and 1. Never higher or lower.
 interpolate(state.position, {
      inputRange: [0, 1],
      outputRange: [1, 0],
      extrapolate: Extrapolate.CLAMP,
    }),
Finally look at the position at which we have our interpolate placed. Our this.opacity is getting assigned this return value. The final value that our Animated.View and subsequently the opacity value is going to be whatever is placed at the end. So in our case we need to put the interpolate at the end. The rest will all just be executed, and the final interpolate will be our opacity value.
return block([
  cond(and(eq(gestureState, State.BEGAN), neq(config.toValue, 1)), [
    set(state.finished, 0),
    set(state.time, 0),
    set(state.frameTime, 0),
    set(config.toValue, 1),
    startClock(clock),
  ]),
  cond(and(eq(gestureState, State.END), neq(config.toValue, 0)), [
    set(state.finished, 0),
    set(state.time, 0),
    set(state.frameTime, 0),
    set(config.toValue, 0),
    startClock(clock),
  ]),
  timing(clock, state, config),
  cond(state.finished, stopClock(clock)),
  interpolate(state.position, {
    inputRange: [0, 1],
    outputRange: [1, 0],
    extrapolate: Extrapolate.CLAMP,
  }),
]);
Apply the Opacity
Here we place our this.opacity on a style object for opacity.
  render() {
    return (
      <View style={styles.container}>
        <TapGestureHandler minDist={0} onHandlerStateChange={this.onStateChange}>
          <Animated.View
            style={[
              styles.rect,
              {
                opacity: this.opacity,
              },
            ]}
          />
        </TapGestureHandler>
      </View>
    );
}
Ending
We're complete. We've create a button that when tapped and held will animate all the way to 0 opacity and when released will animate back to 1 opacity. This may seem complicated for a opacity fade in fade out but the power of reanimated comes with complex animations that are intensive on the bridge. I
Check out the live demo here