Introduction to Reanimated in React Native
Intro + Why Reanimated
Reanimated is the latest addition to the React Native animation family. However it takes a different approach to how animations are handled.
Using the Animated library provided by React Native has some drawbacks. When not animating transform properties values are calculated on the JS side and sent over the bridge. Even when using the useNativeDriver property the animations are kicked off with an imperative .start() call.
Reanimated takes a different approach. Animations are declared and using a series of comparison blocks you can ship your animation over to be evaluated. When combined with react-native-gesture-handler gestures can trigger purely native animations without crossing the bridge.
We'll explore a very simple use case, first we'll need to install both of these libraries. They require native dependencies so you'll need to run react-native link to link them up before starting your project.
yarn add react-native-gesture-handler react-native-reanimated
react-native link
Setup a Box
We're going to get going by defining a simple box to touch. In order for the views to be able to understand the animation declaration we're passing to it we need to first import Animated from react-native-reanimated.
import Animated from "react-native-reanimated";
Then in our render function we use Animated.View. This is very similar to the way that the normal Animated library works from React Native.
render() {
    return (
      <View style={styles.container}>
        <Animated.View style={[styles.box]} />
      </View>
    );
}
We apply some basic styles to center our box, and also create a 200x200 box with a tomato background color.
const styles = StyleSheet.create({
  container: {
    flex: 1,
    alignItems: "center",
    justifyContent: "center",
  },
  box: {
    backgroundColor: "tomato",
    width: 200,
    height: 200,
  },
});

Setup a GestureHandler
Now we need to setup someway to handle touches. We're going to use the TapGestureHandler. This will provide us a mechanism to capture simple taps on elements.
import { TapGestureHandler } from "react-native-gesture-handler";
We now need to wrap our Animated.View box with our TapGestureHandler.
render() {
    return (
      <View style={styles.container}>
        <TapGestureHandler >
          <Animated.View style={[styles.box]} />
        </TapGestureHandler>
      </View>
    );
  }
Handle Change in Gesture State
Now is where we setup how we are going to handle storing the user has tapped on something. react-native-gesture-handler does this by passing over a series of numbers. These numbers correspond to a particular state at which the gesture handler is currently going through.
To make life easier you can import State and it will have various values named that you can compare to.
import { TapGestureHandler, State } from "react-native-gesture-handler";

const { event, Value } = Animated;
Before we get to comparing state we need to save it somewhere. So first we setup a new Value from Reanimated. We now need to use event from Reanimated to create a handler to store info.
This works exactly like Animated.event from React Native. Given an array of it will traverse arguments of the event that the handler would have been called with then it will assign to the Value that we've provided at that location.
Typically you may be looking at dx, dy, location of the touch, etc. However React Native Gesture Handler provides a special prop called state. This holds the current state that that gesture handler is in.
So when the user taps on our TapGestureHandler. It will go through the BEGAN => ACTIVE => END states.
  constructor(props) {
    super(props);

    const state = new Value(-1);

    this.onStateChange = event([{
      nativeEvent: {
        state: state,
      },
    }]);

  }
Now that we have animated event handler created we'll pass that into our onHandlerStateChange.
<TapGestureHandler onHandlerStateChange={this.onStateChange}>
  <Animated.View style={[styles.box]} />
</TapGestureHandler>
Declare our Animation
In order to setup our animation we need to import a few conditional blocks from Reanimated. The 2 new ones we'll use are cond and eq.
const { event, cond, eq, Value } = Animated;
Lets look at our animation logic.
this._opacity = cond(eq(state, State.BEGAN), 0.2, 1);
The cond function will create a conditional. When the first statement (in our case the eq block) resolves to true the first parameter after it will resolve to our value (in our case .2). Otherwise the second parameter will be return (in our case 1).
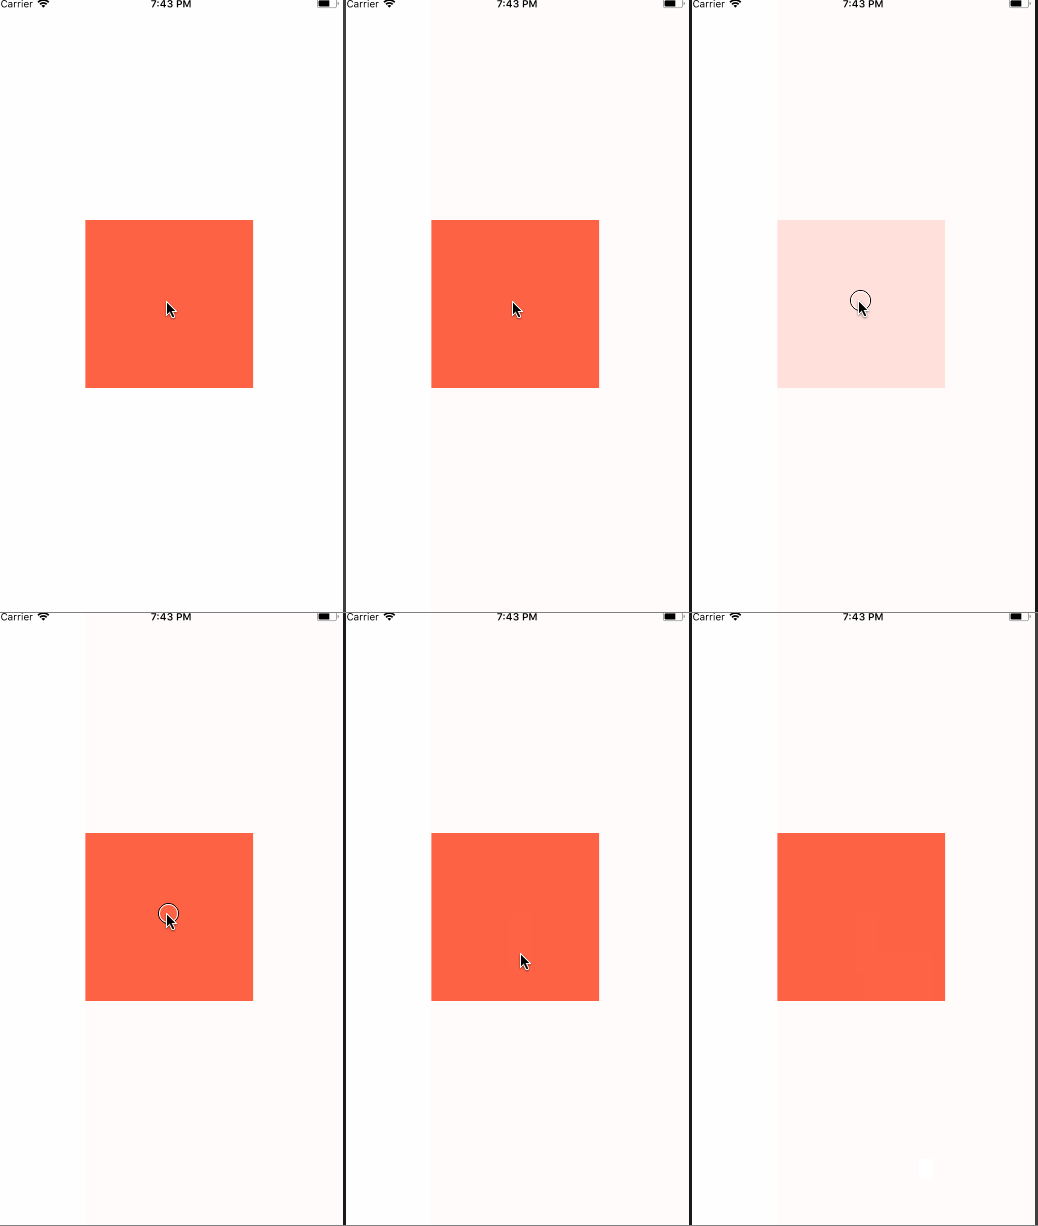
So what this is saying is in the event that our state variable switches over to BEGAN aka someone has executed a tap on our gesture handler then our first parameter will now be returned so our opacity will switch to .2.
As soon as it switches over to something different, like the user releasing our state will change to END and our animation will now return 1 as the opacity.
constructor(props) {
    super(props);

    const state = new Value(-1);

    this.onStateChange = event([{
      nativeEvent: {
        state: state,
      },
    }]);

    this._opacity = cond(eq(state, State.BEGAN), 0.2, 1);
  }
The key part to Reanimated is that whatever the final value in the series of blocks ends up at is going to be the value that is passed into the style property. In our case it is simple because we have a single condition.
Here we can now pass our this._opacity into our Animated.View just like you would do when providing animated values to normal Animated.View nodes in React Native.
<TapGestureHandler onHandlerStateChange={this.onStateChange}>
  <Animated.View style={[styles.box, { opacity: this._opacity }]} />
</TapGestureHandler>
Ending
This may seem like a simple demo but this is a new powerful way to declare your animations. Just like declaring react components and removing imperativeness makes code more predictable. This also only touches the bridge when you render saving you precious cycles and not blocking the JS thread when executing animations!
